I rebuilt my van's electrical system three times. The first build was underpowered. The second was better but still not right. By the third, I'd worked out the exact method for calculating what you actually need. It's simpler than most YouTube videos make it look.
This guide gives you the real process. Not theory. These are the actual steps I used on my Ford Transit build that ran completely off grid for up to 7 days at a time across Australia.
The core principle: Work out your daily amp hour consumption first. Then size your battery to store 2 to 3 days worth. Then size your solar to refill that battery in one decent day of sun.
Step 1: List Every Device and Its Draw
Go through every electrical item in your van and write down how many amps it draws and how many hours per day you'll run it. Amps x hours = amp hours (Ah) per day.
If a device is rated in watts, divide by your system voltage (almost always 12V) to get amps. So a 60W fridge ÷ 12V = 5A draw.
| Device | Draw (A) | Hours/day | Daily Ah |
|---|---|---|---|
| Compressor fridge (60W) | 5A | 8 hrs avg | 40 Ah |
| Maxx Air fan | 2.5A | 6 hrs | 15 Ah |
| LED lighting | 1A | 4 hrs | 4 Ah |
| Water pump | 4A | 0.25 hrs | 1 Ah |
| Phone charging ×2 | 2A | 2 hrs | 4 Ah |
| Laptop | 4A | 3 hrs | 12 Ah |
| 12V TV | 3A | 2 hrs | 6 Ah |
| Total | 82 Ah/day |
Add 20% buffer for inefficiency and things you forgot. So 82 Ah x 1.2 = about 100 Ah per day in real world use.
Step 2: Size Your Battery Bank
You want 2 to 3 days of storage without solar input. That gives you a buffer for cloudy days and avoids constantly running your batteries flat.
At 100 Ah/day x 3 days = 300 Ah needed. This part is critical. The type of battery determines how much of that is usable:
- AGM (lead acid): Only use 50% before damage. So you need 600 Ah of AGM to get 300 Ah usable.
- Lithium (LiFePO4): Use about 80 to 90%. So 375 Ah of lithium gets you 300 Ah usable.
Go lithium from day one. I started with 475 Ah AGM. After 5 years they were down to about 80% capacity. I switched to 400 Ah lithium and the performance difference was immediate. Pay more once and be done with it.
For most solo or couple builds without high draw appliances, 200 Ah lithium is the practical minimum. 300 to 400 Ah is comfortable and covers most scenarios including a fridge freezer, laptop work, and a fan running all night.
Step 3: Size Your Solar
Solar needs to replace your daily consumption in a reasonable number of peak sun hours. Australia averages about 4 to 6 peak sun hours per day in most regions. Europe and the UK average about 3 to 4. Use 4 as a conservative planning figure.
Daily consumption ÷ peak sun hours = solar watts needed.
100 Ah x 12V = 1,200 watt hours per day. Divide by 4 sun hours and you get 300W of solar panels as a minimum. Add another 25% for real world losses like heat, angle, and cable resistance. That takes 300W x 1.25 to 375W.
In practice: one quality 400W rigid panel handles this comfortably and leaves headroom. That's where I landed on my second upgrade, and it was the right call.
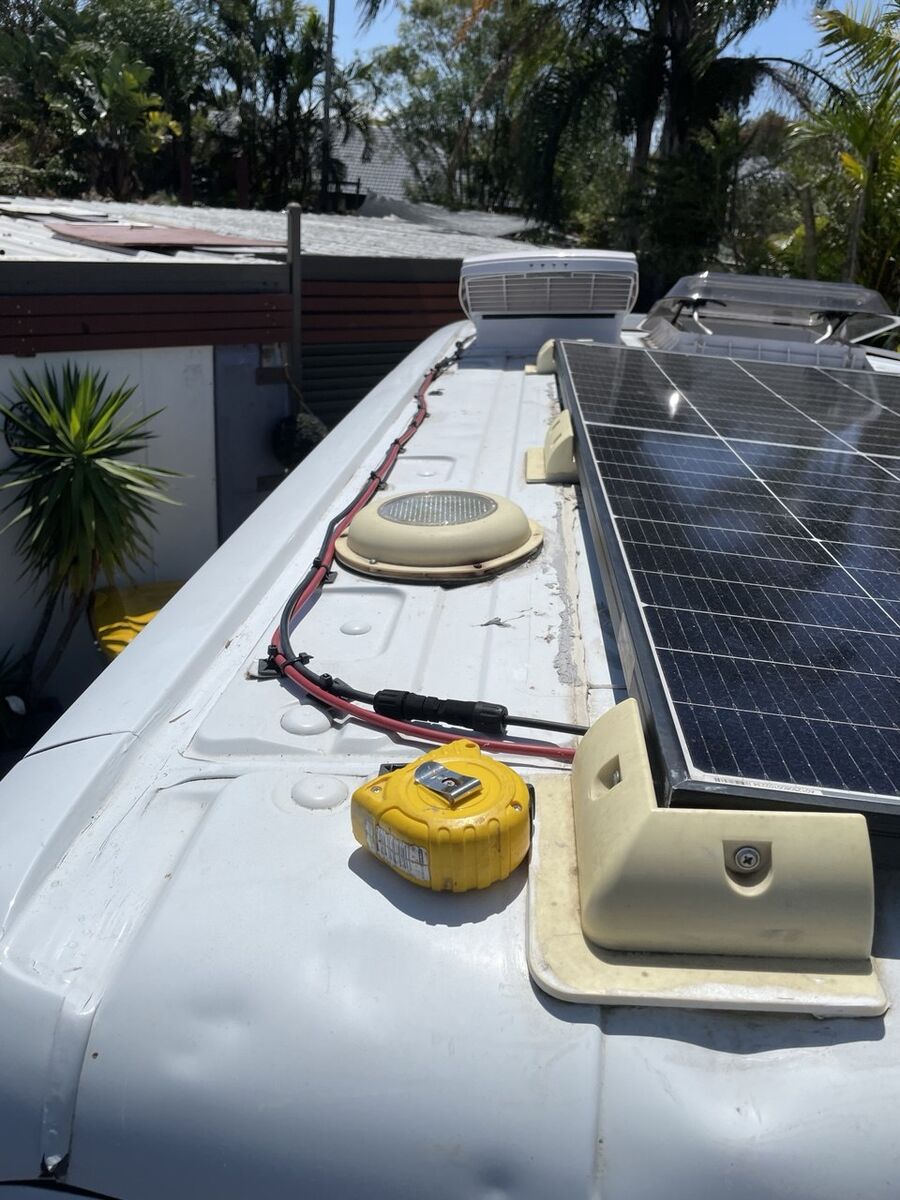
400W rigid glass panel. Cleaner than flexible, more durable, and actually easier to remove later if needed.
Rigid vs Flexible Panels
I used flexible panels on my first build for the stealth look. They worked, but when I needed more power I upgraded to rigid glass panels on aluminium brackets bonded with Sikaflex.
| Flexible | Rigid Glass | |
|---|---|---|
| Profile | Flush to roof, very stealthy | Raised on brackets, visible |
| Efficiency | Lower, heat builds up under panel | Higher, air gap keeps panels cool |
| Lifespan | Usually 5 to 8 years | Usually 15 to 25 years |
| Wattage available | Up to ~200W per panel | Up to 500W+ per panel |
| Cost | Higher per watt | Lower per watt |
| Best for | Stealth builds, limited wattage | Most builds, better value overall |
On Sikaflex: When I did my third upgrade I couldn't get the rigid panel brackets off. The Sikaflex had bonded so hard I had to cut them free. That stuff is permanent. Plan your panel layout carefully before bonding anything down.
The Solar Charge Controller
Between your panels and your batteries, you need a solar charge controller. Get an MPPT (Maximum Power Point Tracking) controller, not a PWM. MPPT extracts about 20 to 30% more power from the same panels.
Size it for your panel wattage ÷ 12V, then go one size up. For a 400W system: 400 ÷ 12 = 33A. Use a 40A MPPT controller. Renogy and Victron are both solid choices; Victron is premium and worth it if you're building a serious system.
DC to DC Charging (Alternator Charging)
Solar charges your house batteries when the sun's up. But what about when you're driving on a cloudy day, or after a big power night? A DC to DC charger, also called a B2B charger, lets your alternator top up your house batteries while the engine is running.
This is not the same as running a cable from your starter battery to your house battery. That can damage both batteries and the alternator. A proper DC to DC charger regulates the charge correctly.
I ran a 50A DC to DC charger. On a 4 hour drive that's potentially 200 Ah of charging, enough to fully restore a 200 Ah lithium bank from near empty. Combined with solar, running out of power genuinely stops being a concern.
Putting It Together: My Actual System
After three builds, here's what I settled on and would recommend for a full time off grid setup:
- 400 Ah lithium (LiFePO4) battery bank
- 440W rigid glass solar panel (single panel)
- 40A MPPT solar charge controller
- 50A DC-to-DC charger
- 2000W pure sine wave inverter for 240V appliances
- All cables sized correctly with inline fuses throughout
The full wiring diagrams, cable sizing calculations, fuse board layout, and component choices are all in the free guide. The electrical section walks through every decision I made and why.
Get the Free Van Build Guide
15 chapters covering the full build, including the complete electrical planning section.
This page contains affiliate links. If you purchase through them we may earn a small commission at no extra cost to you. See our affiliate disclosure.
Related guide: Solar and Battery Sizing Guide — Size your solar and battery together so your system is balanced from day one.