Every part you need is listed, no matter what van you have.
This guide shows you exactly how to design and wire a safe, reliable 12V and 240V van electrical system — step by step, with every part listed.
My background
Seven house flips. A garage conversion. One van, rebuilt and upgraded three times over six years. After living in it full time for two years I found every mistake, every shortcut that came back to bite me, and every part that turned out to be non-negotiable. What's in this guide is what I would have told myself on day one.
YouTube is great for inspiration. The problem is there's never enough detail. It's great watching someone do a wiring run in a 15 minute video but they don't show you the weeks of planning before it, or the costly mistakes made along the way. I'm going to walk you through the entire process, what I did, what I got wrong, and exactly how I'd do it if I started again tomorrow. Follow this properly and you'll get it right the first time instead of rebuilding it three times like I did.
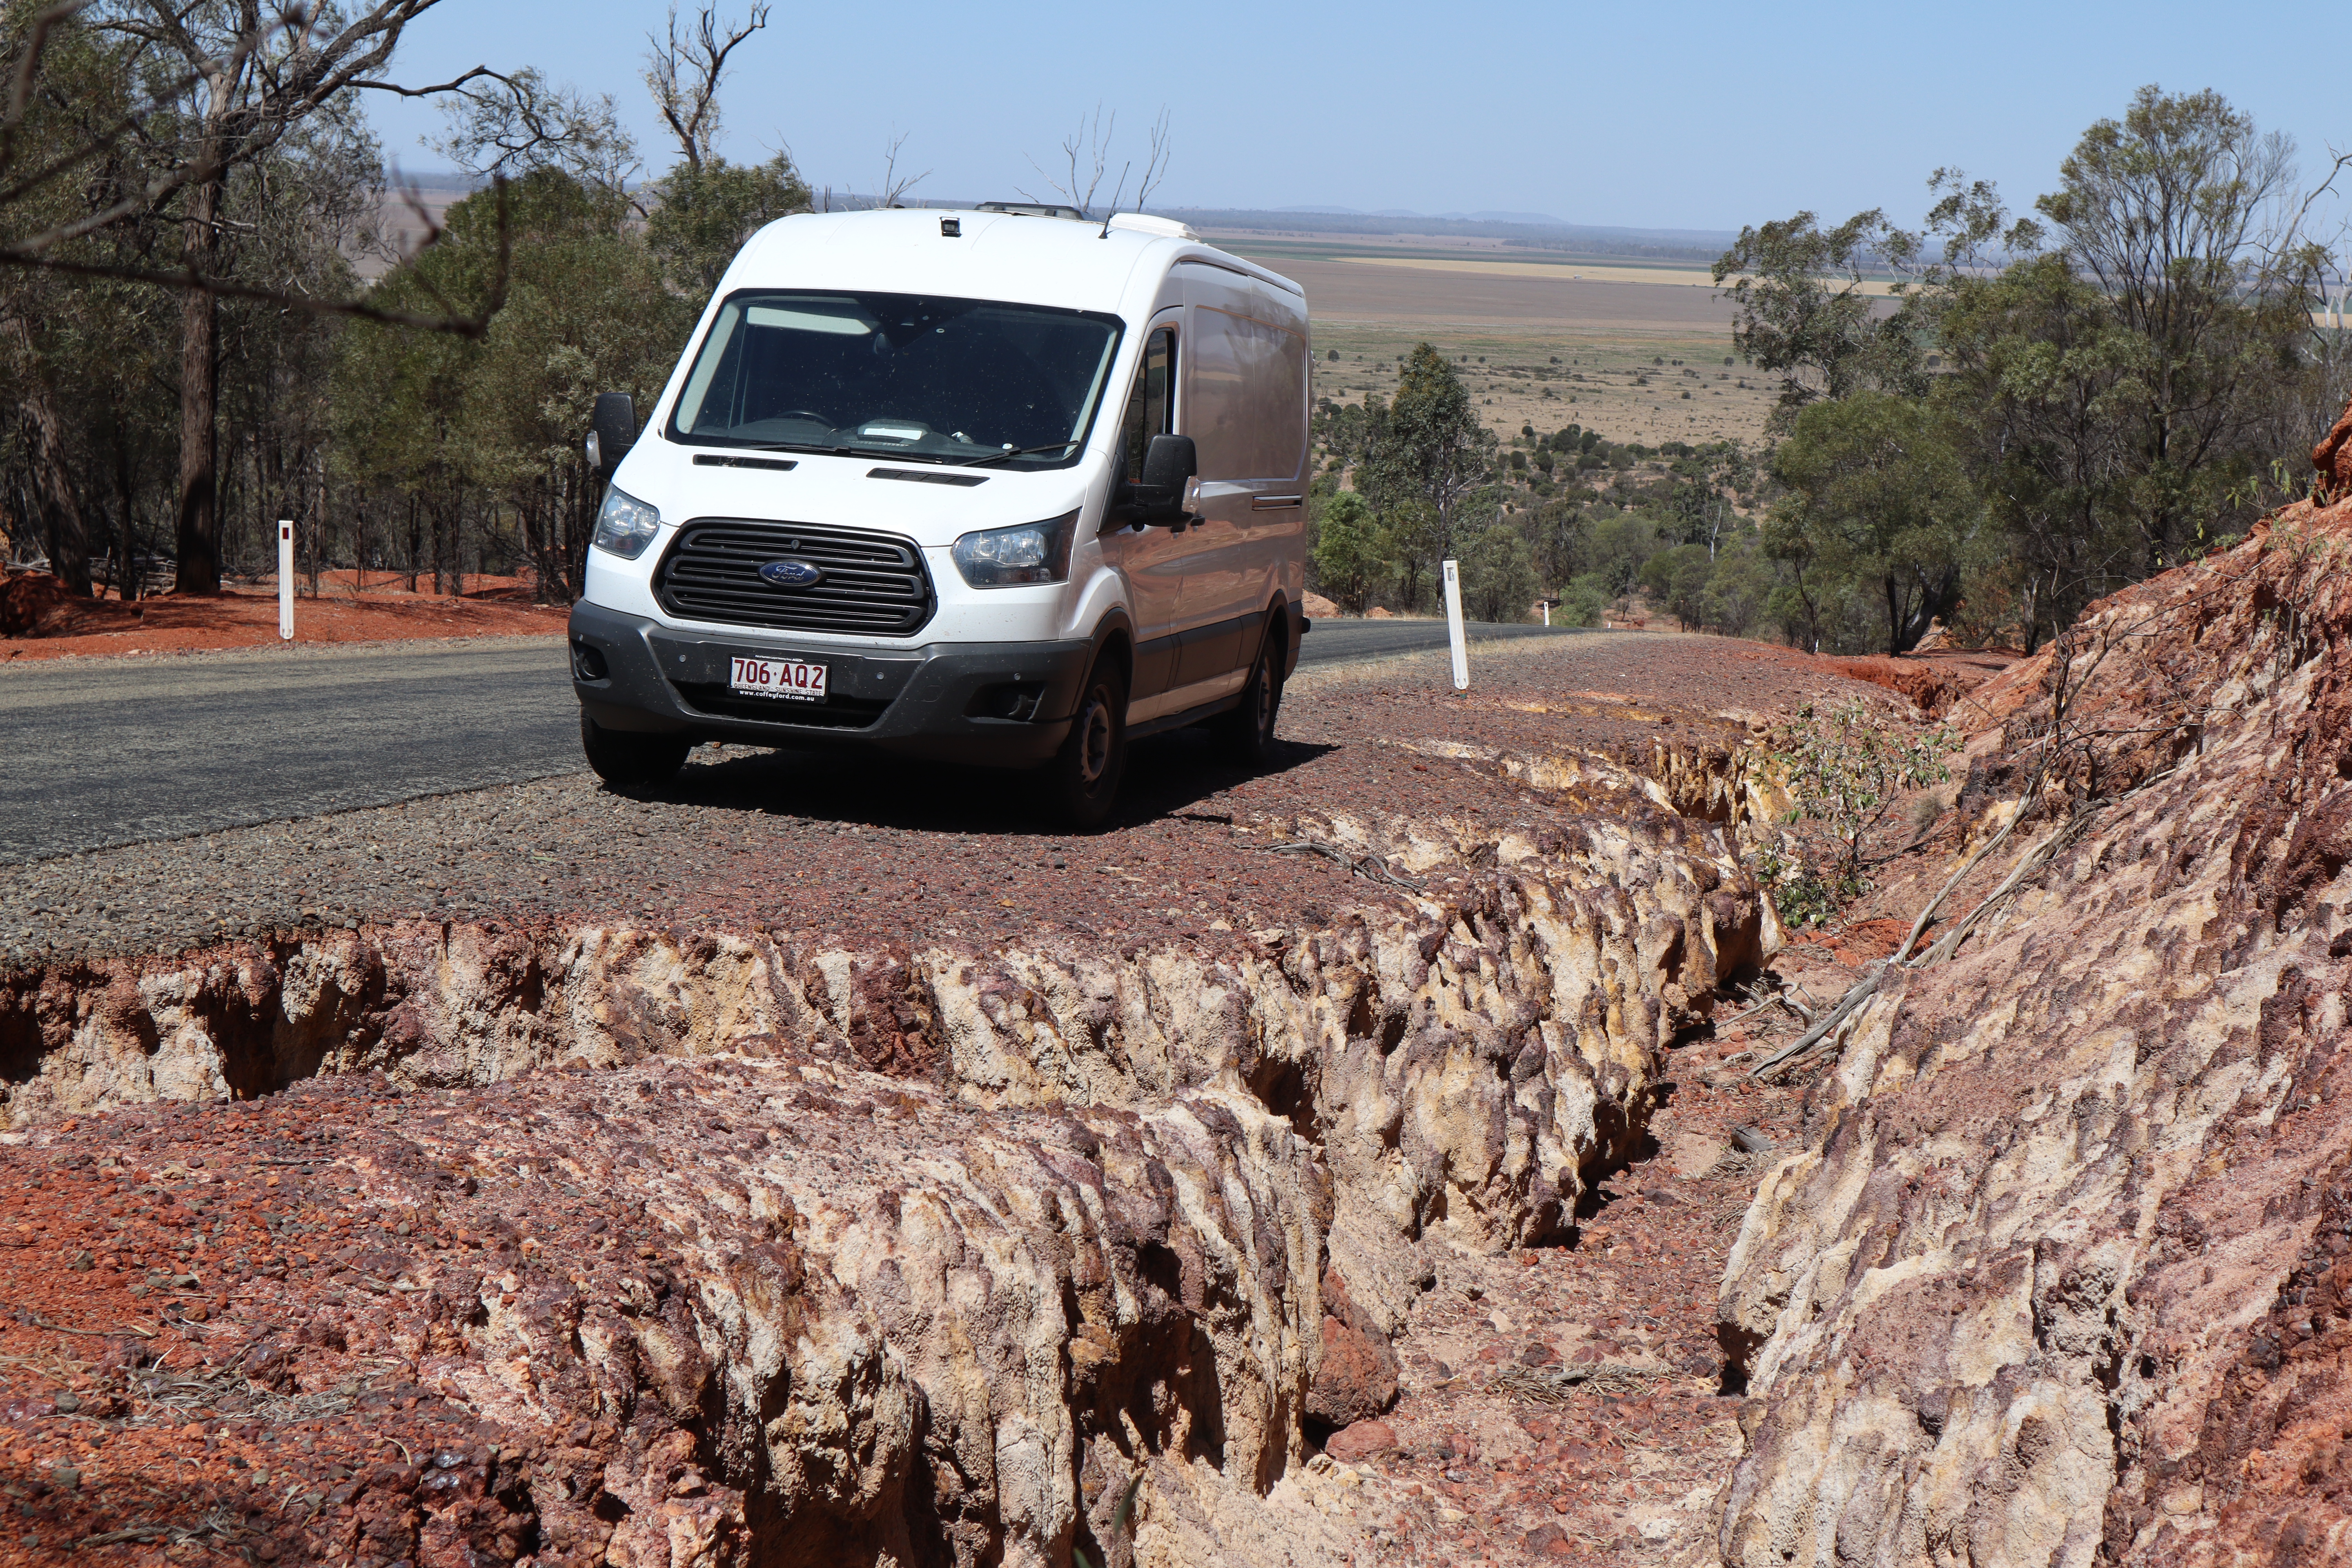
This guide has as much detail as I could possibly give. Every part is listed in one place with pictures so you're not hunting across five different websites trying to figure out what fits what. The design is based on my Ford Transit Mark 8 but the system works in any van. You may have a different layout but the logic and the parts are the same.
Before you start, read this first
Read the whole guide before you touch a wire. Then plan your own setup around your specific needs. Are you going stealth, nothing visible on the outside of the van? Are you building for powered campsites only or do you need to be fully self-sufficient off-grid? A mix of both? These questions change which parts you need and where things go. I've covered all parts for both setups.
If you already know your requirements, skip straight to the parts section. Everything is listed with pictures and part numbers. Numbers in brackets throughout this guide refer to the part number on the diagram.
All the main parts in the diagram need to remain accessible after installation. Don't box in the inverter, the MPPT, or the battery monitor in a way that means pulling the whole interior apart to service them. Plan access from the start.
Get it checked. Once your 240V wiring is complete, have it inspected by a licensed electrician before energising. The 12V side is low voltage and forgiving of learning. The 240V side is not. Shore power connections, inverter outputs, and mains outlets in the van all need to be done correctly. This is the one part of the build where getting a professional set of eyes over the work is worth every dollar.
Quick-Start — The Things That Matter Most
Read the full guide before touching a wire. This page is the distilled version — the build order, the mistakes that cost the most, and the checks you need to run before calling the system done. Come back to it when you're mid-build and losing your bearings.
Build in this order
Plan the layout on paper first. Know where the battery bank, inverter, MPPT controller, fuse box, and DC-DC charger will all sit before you order cable. Every run length depends on these positions.
Run all cable before insulating or lining walls. Cable through conduit, grommets at every metal penetration, drip loops on anything entering from outside. Wiring after the lining is in is a miserable job.
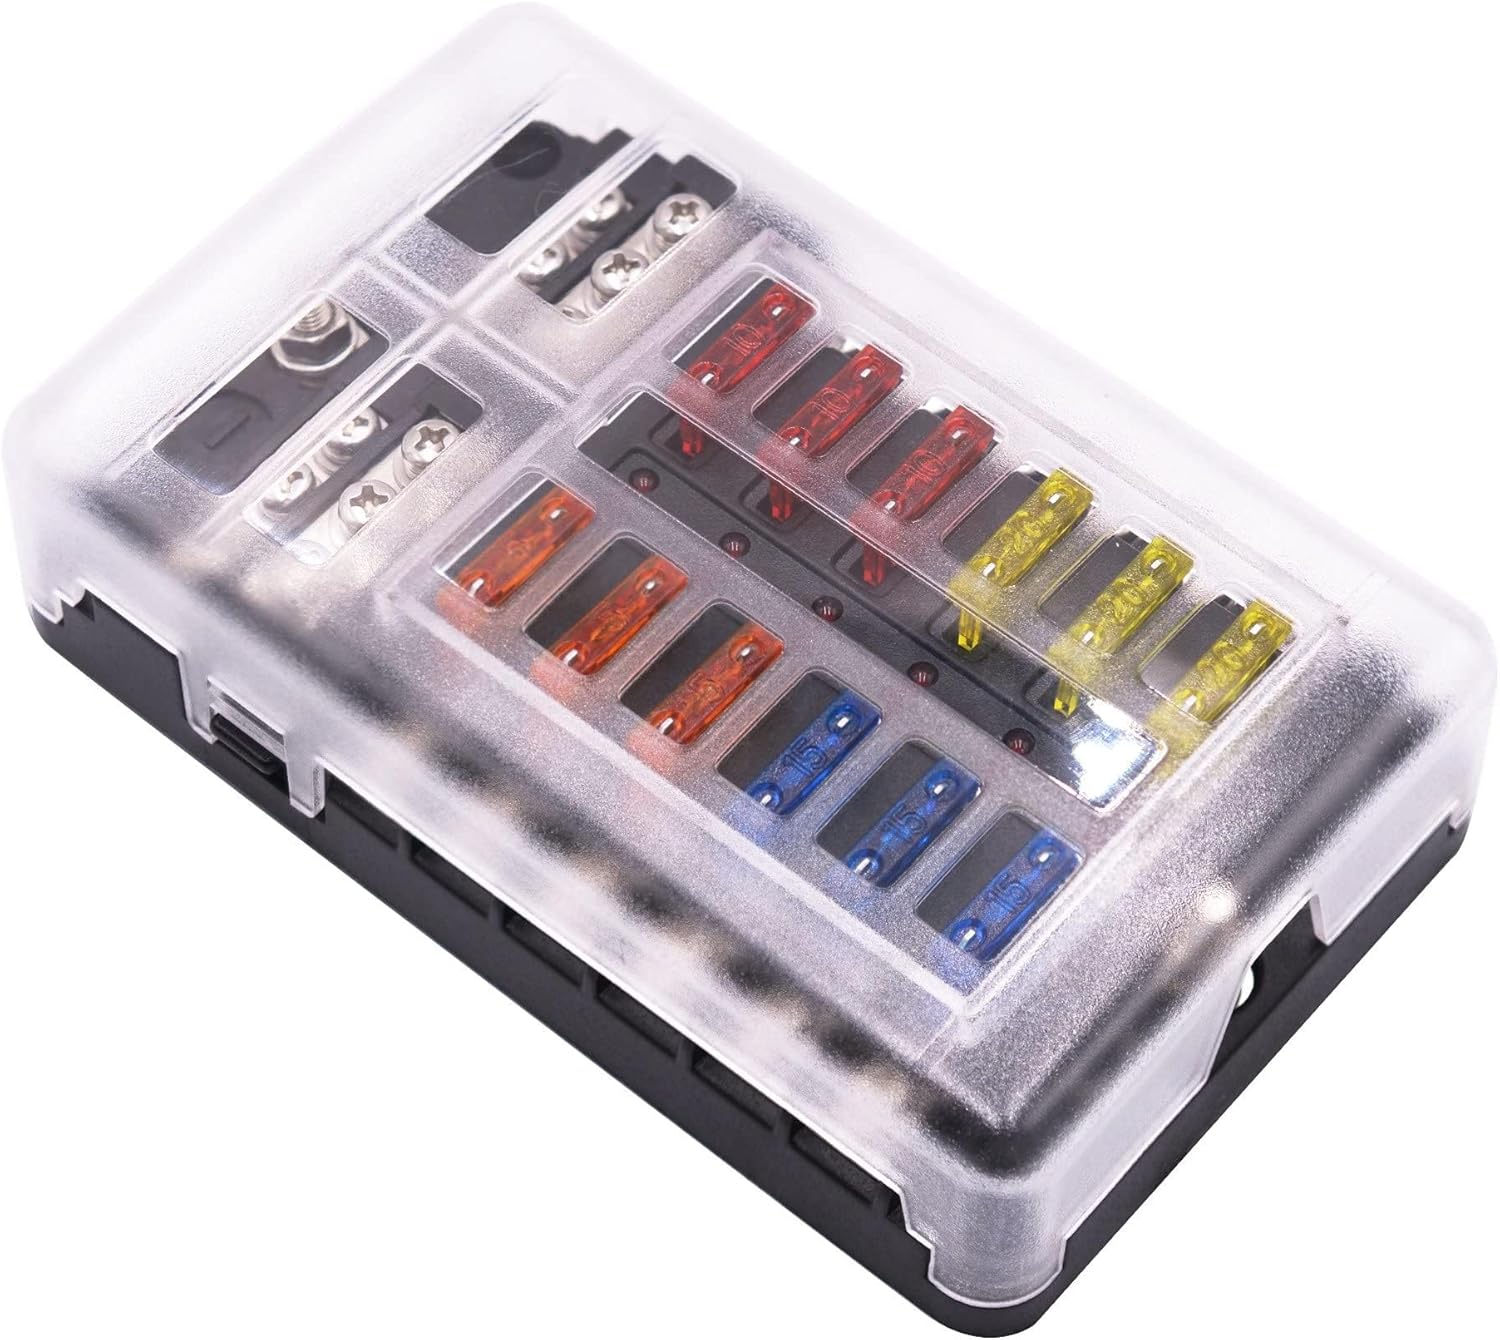
Connect 12V circuits first. Fuse box, lighting, pumps, 12V appliances. Test each circuit before moving on.
Install the inverter and 240V circuits last. Refer to the shore power section for wiring spec. Have the 240V side inspected by a licensed electrician before energising.
Run the commissioning checks below before closing in anything permanently.
The three mistakes that cost the most
1. Undersized cable. The most common error in DIY van builds. Every cable in this guide has a minimum size for a reason. A cable that is too small runs hot, loses voltage, and is a fire risk. Don't size down to save money on a cable run — it costs more to fix later.
2. Fusing too far from the battery. The fuse protects the cable, not the device. If the fuse is 1 metre from the battery and there's a fault in the first metre, that unprotected cable can start a fire. Fuse every positive cable within 300mm of the battery or busbar.
3. Poor earth connections. A bad earth causes more mysterious problems than any other single thing — flickering lights, inverter faults, monitor errors, charger issues. Before you chase any symptom, check every earth point first.
Checks before closing anything in
Voltage drop test. Check voltage at the far end of each run under load. More than 3% drop means the cable is undersized for that run length.
Fuse audit. Confirm every positive cable from the battery or busbar has a fuse within 300mm. No exceptions.
Earth resistance check. Test each earth point with a multimeter. High resistance here causes hard-to-diagnose problems months later.
All connections retorqued. Go over every terminal, lug, and busbar connection. Connections can loosen during the build before they ever see a load or vibration.
Drive check. After the first drive, re-check all connections and re-run the voltage drop test. Vibration settles crimped connections and can reveal poor joints that passed the bench test.
240V side: Do not energise shore power connections, inverter outputs, or mains outlets without a licensed electrician checking them first. The 12V side is forgiving of learning. The 240V side is not.
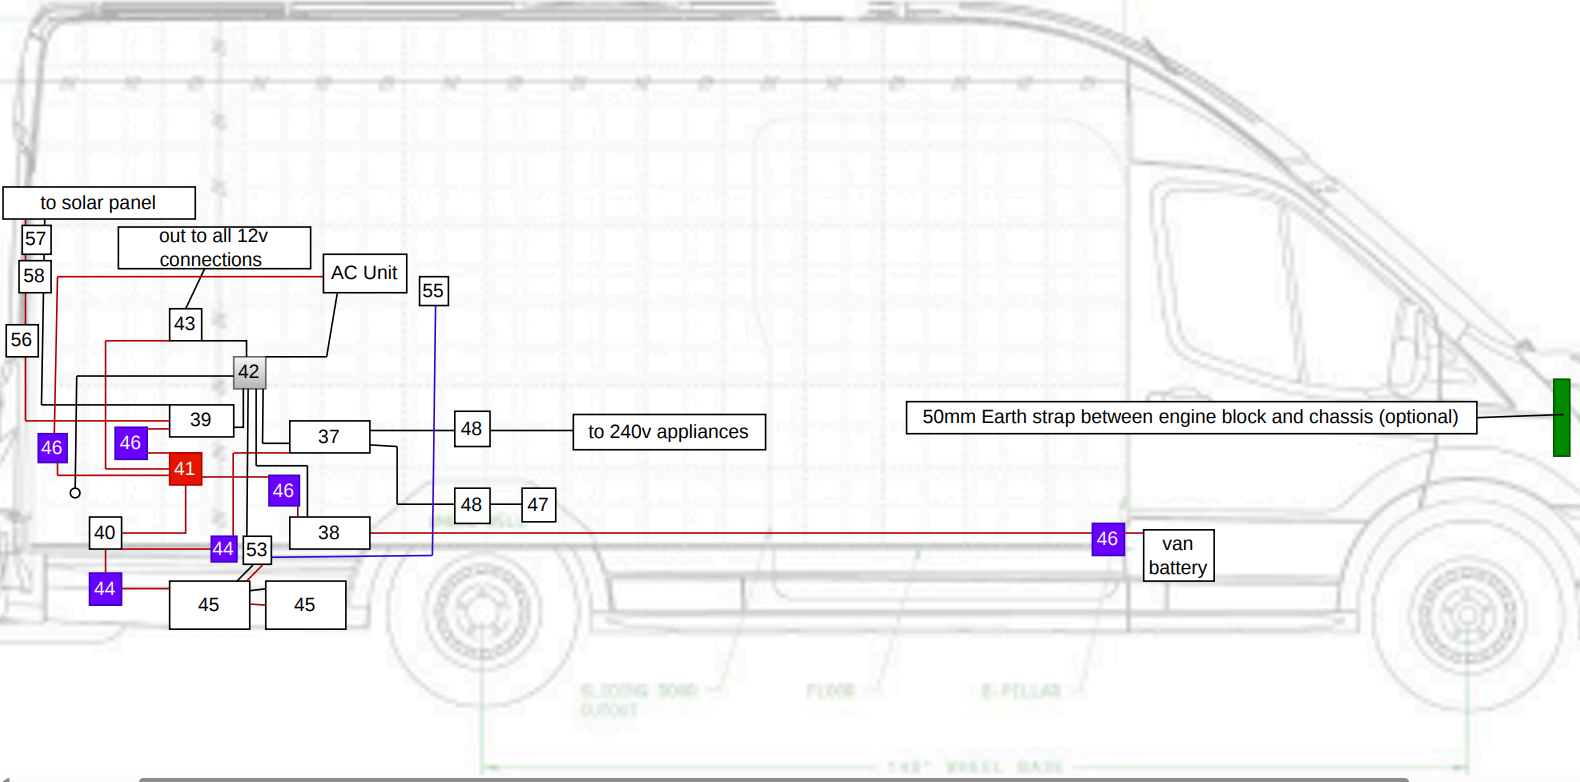
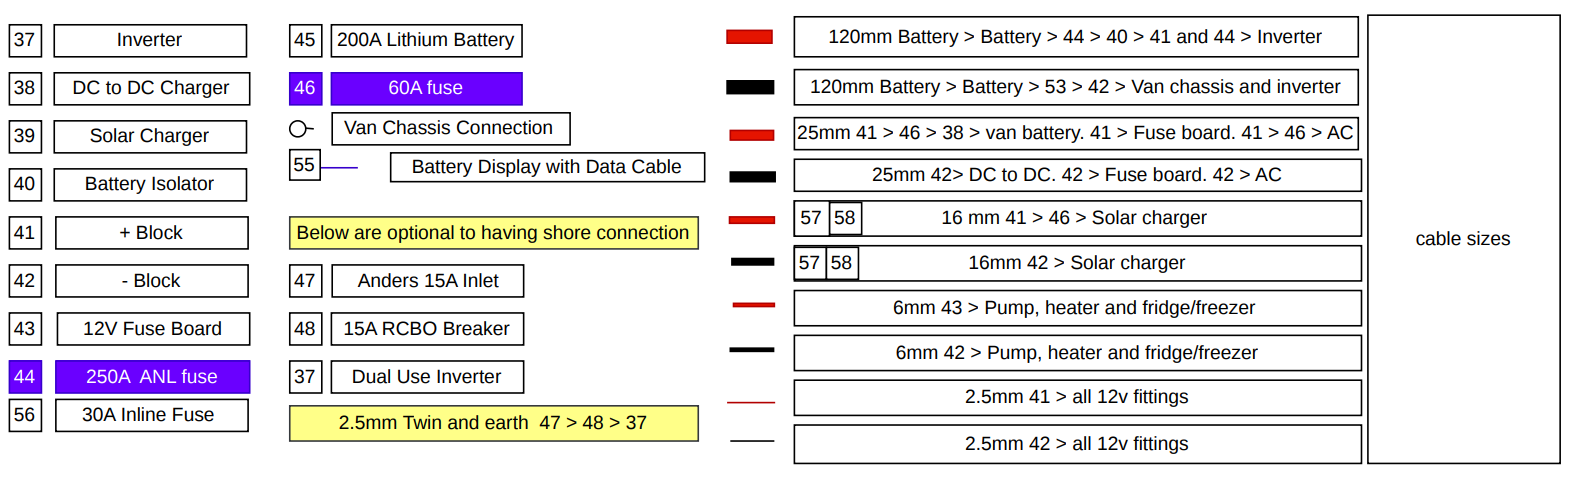
Shore Power
What shore power is, your two setup options (stealth extension lead vs external inlet), and why your total 240V draw is limited regardless of how many outlets you fit.
Shore power is when you connect your van to mains power at a campsite or property. By my final build I had gone fully off-grid and didn't rely on it, but depending on how you plan to use the van it's worth understanding your options.
Stealth option
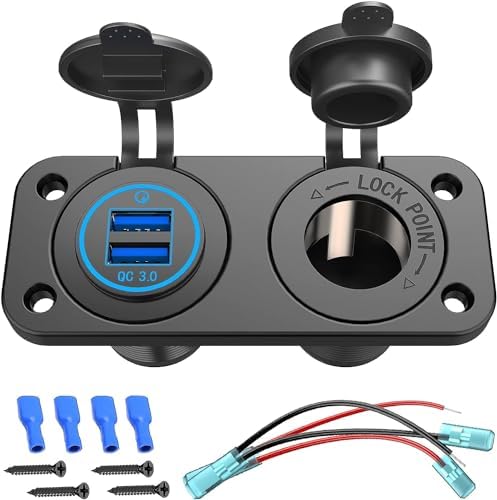
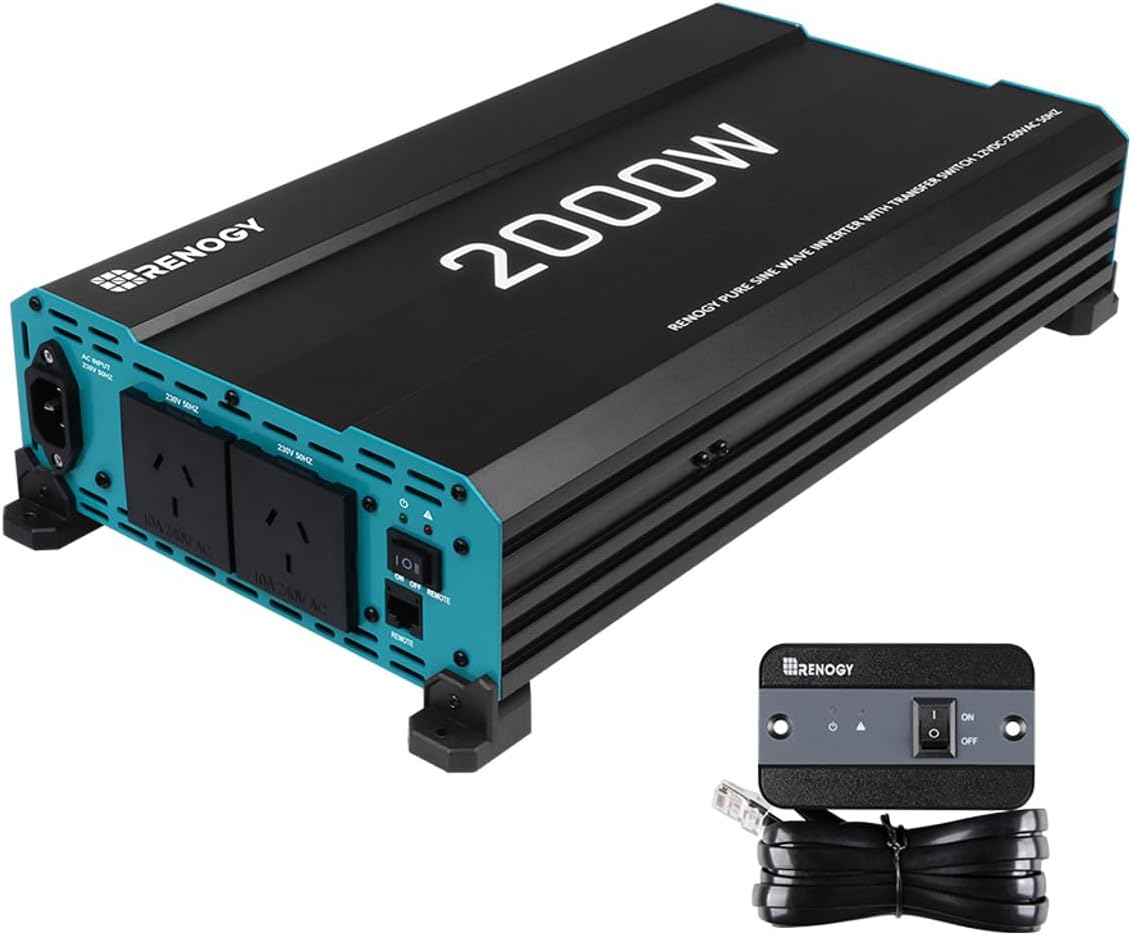
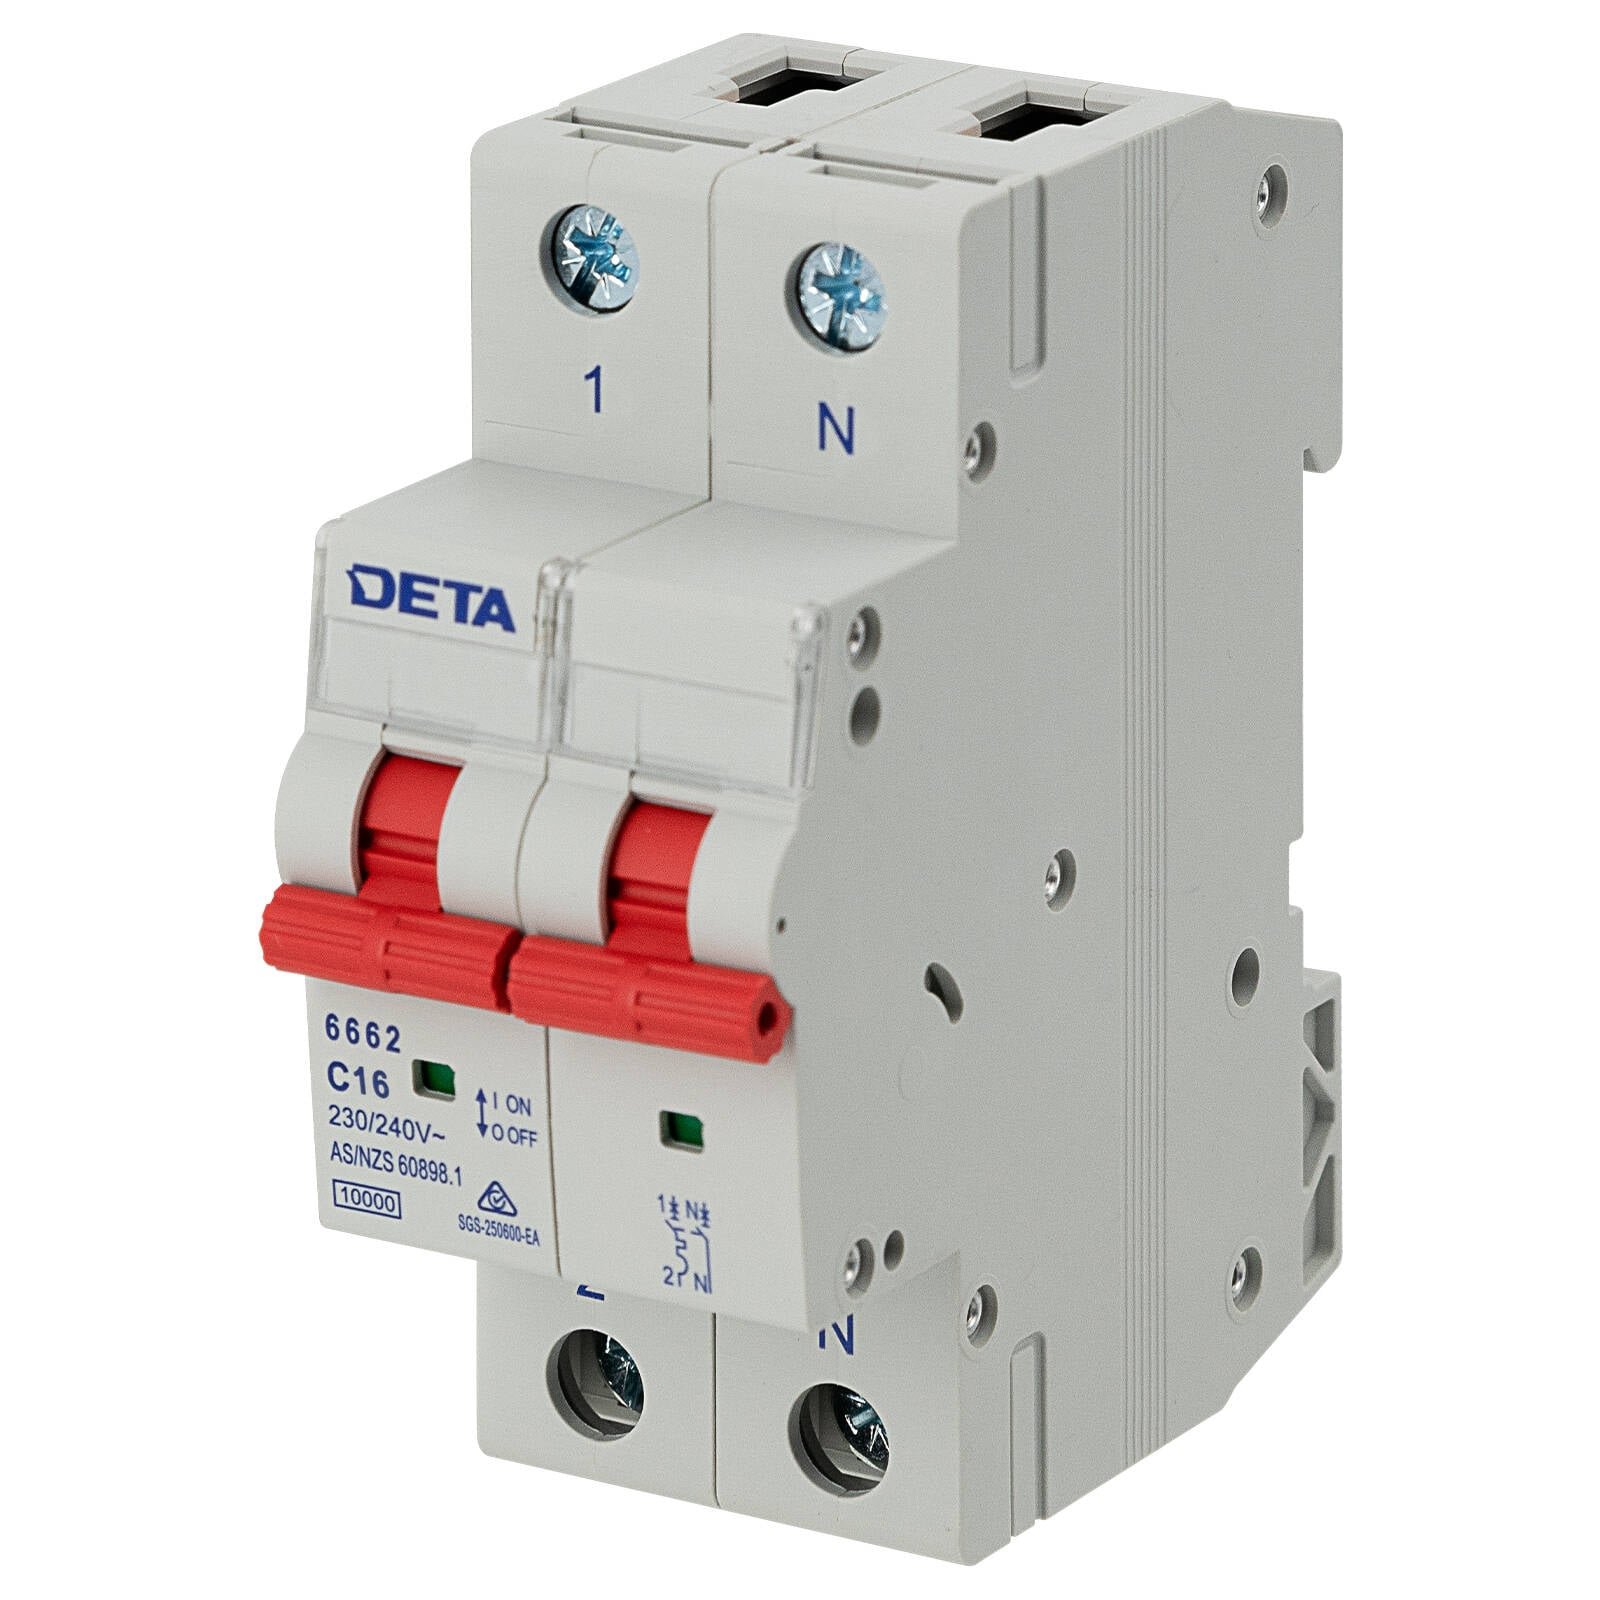
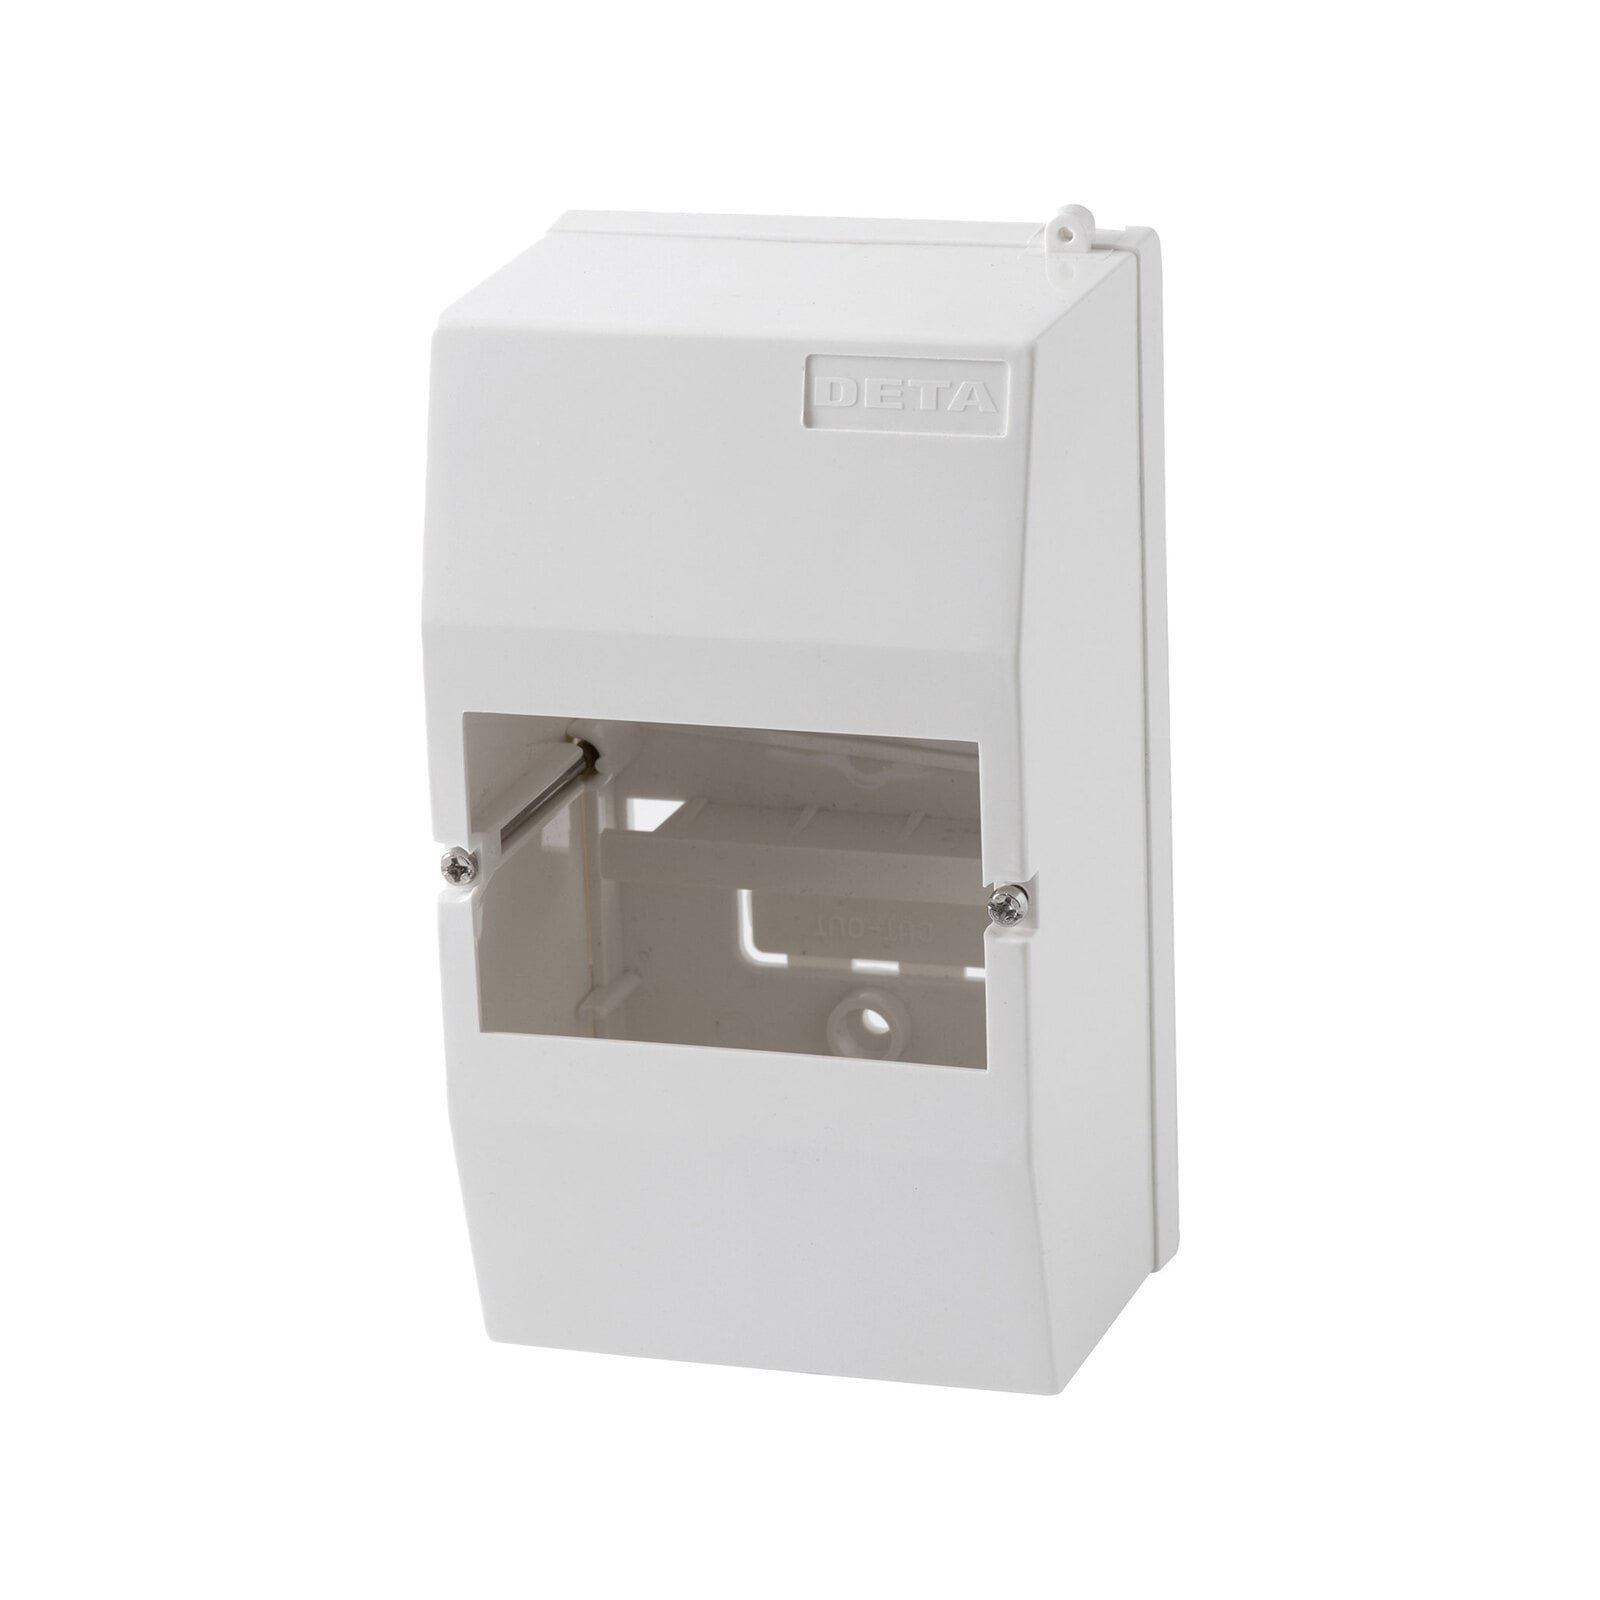
If you want shore power but nothing visible on the outside of the van, the simplest approach is a quality extension lead that rolls out from inside the van when you need it. Inside the van, your inverter output goes through a 16A MCB (48b) then out to your appliances or mains outlets. This keeps the outside of the van completely clean.
External inlet
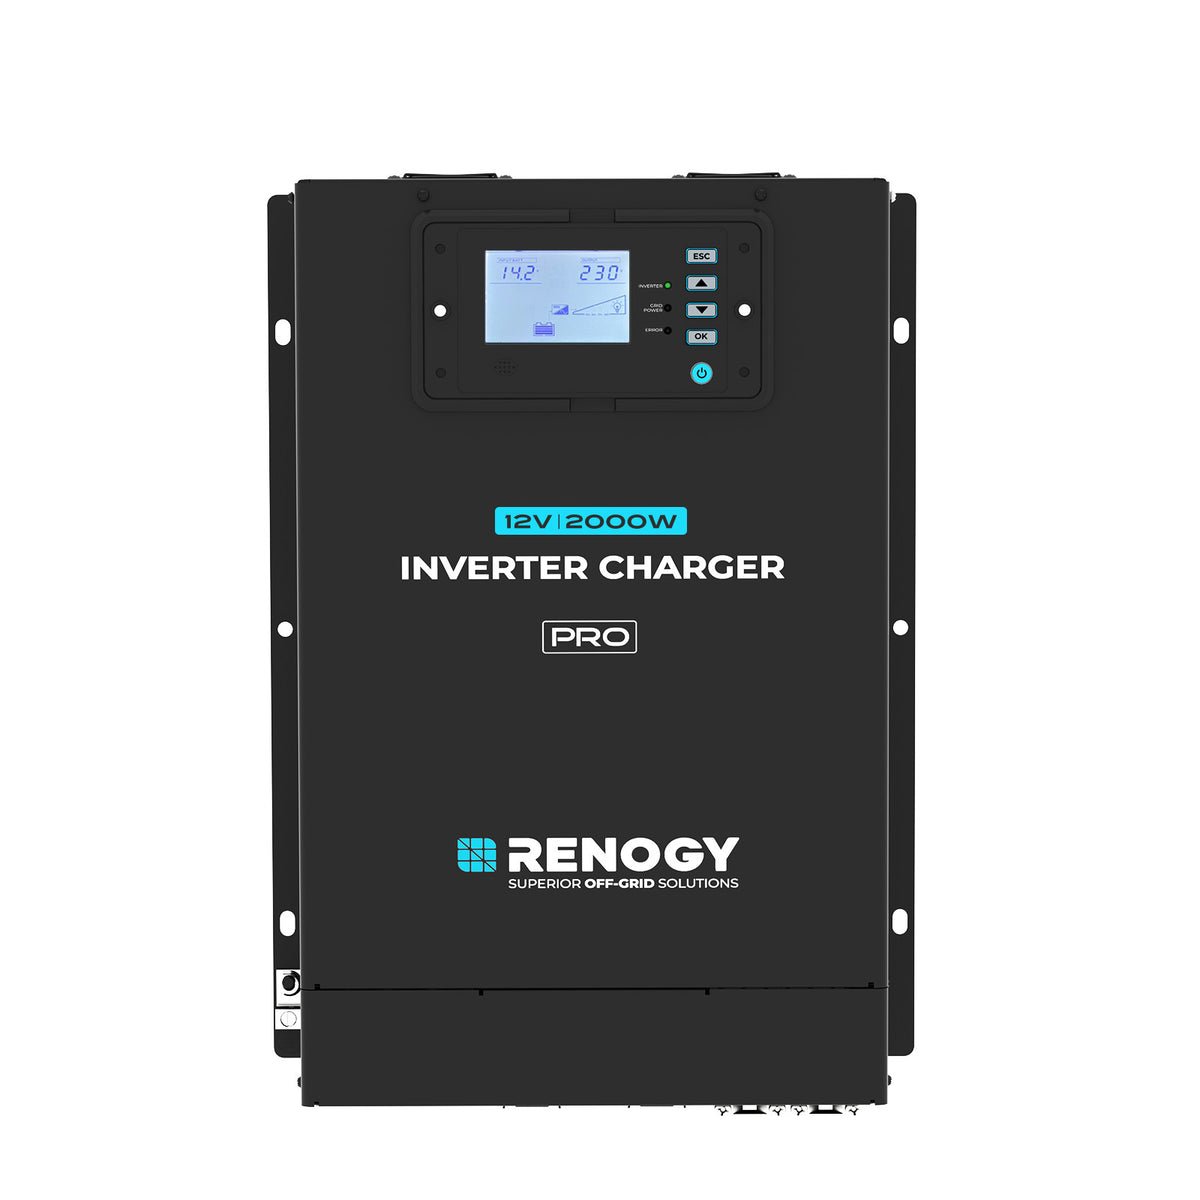
If you want a permanent mains inlet on the outside, fit an Anders 15A inlet (47) on the van body. Cable that to a 15A RCBO (48) which you can sit in a 4 module enclosure (48c) alongside the MCB. From there it runs to your inverter/charger (37b). This is the more expensive but correct way to do it in a safe and code-compliant setup. When plugged into mains the inverter/charger also charges your batteries at the same time, which is a genuine benefit if you're staying somewhere powered for a few days.
Understanding your 240V load limit
This is something a lot of people get wrong. Your total 240V load is limited to roughly 2000W regardless of how many outlets or appliances you have connected. You can have four GPOs in your van but you cannot run four high draw appliances at the same time. A kettle, a hair dryer, and a toaster together will trip the circuit. Plan which appliances you'll actually run and when, and build your usage around those limits.
Batteries
AGM vs lithium, why lithium wins for a van build, brand quality matters, and how heat affects battery lifespan.
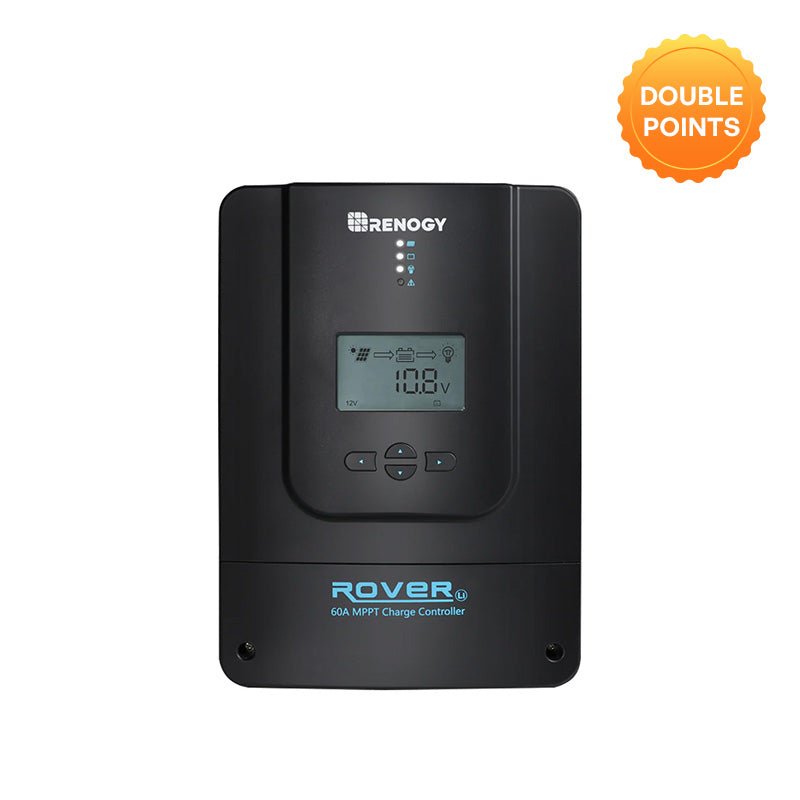
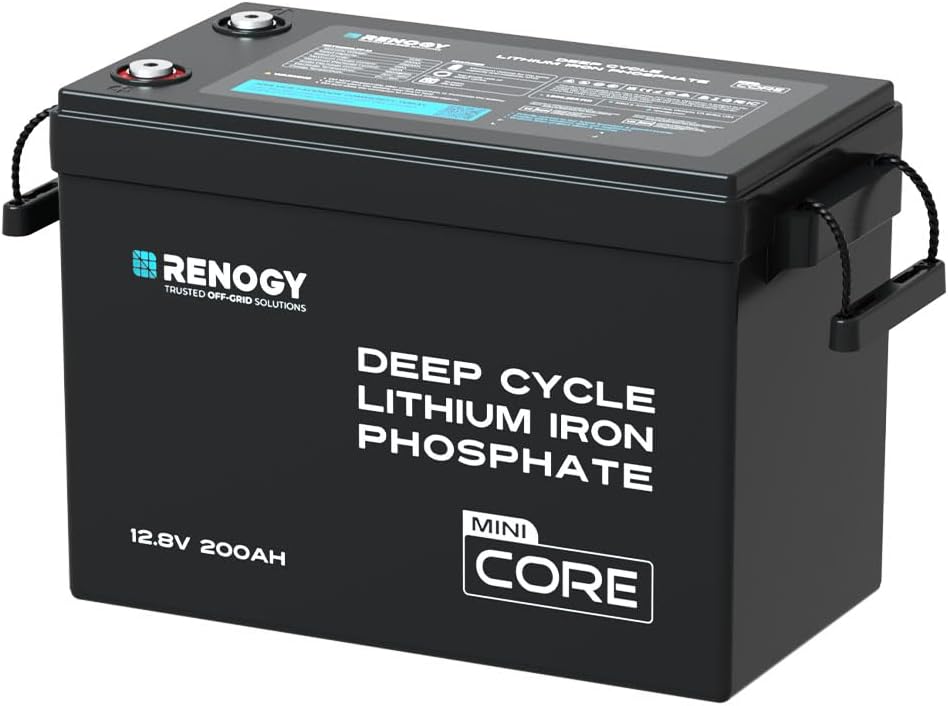
When I did my first van conversion I started with 475Ah of AGM lead sealed batteries. I'll save you the time I spent figuring this out. Lithium is far better in almost every way and if your budget can stretch, go straight to lithium and don't look back.
AGM vs lithium
Lithium has 90% usable energy. AGM has around 70% and you don't want to regularly discharge below 50% or you shorten the battery life significantly.
Lithium lasts longer and handles higher charge and discharge rates.
AGM batteries give off hydrogen gas during charging. They cannot be in the living area of the van and must have an external vent. This is not optional, it's a safety requirement. Hydrogen is explosive.
I ran AGM for 5 years then upgraded to 2 x 200Ah lithium. I would not go back.
Brand matters here
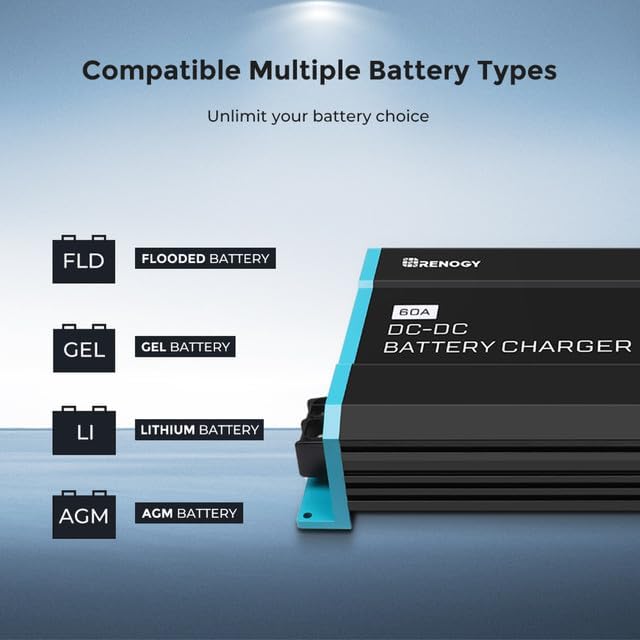
If your budget allows, stick to known brands. I used Renogy and have had zero issues. There are cheaper batteries on the market and some of them are fine, but for the main battery bank in a van you live in, the cost of a failure or a swollen cell is not worth the saving. Buy once, do it right, and you won't need to redo it later. This same logic applies to your inverter, your MPPT, and your DC-DC charger.
Heat and battery health
Lithium performance and lifespan drops significantly above 45 degrees. Keep batteries out of direct sun where possible. In a hot climate this means thinking carefully about where in the van the battery bank lives and whether it has any ventilation. A battery that regularly runs hot will lose capacity much faster than the spec sheet suggests.
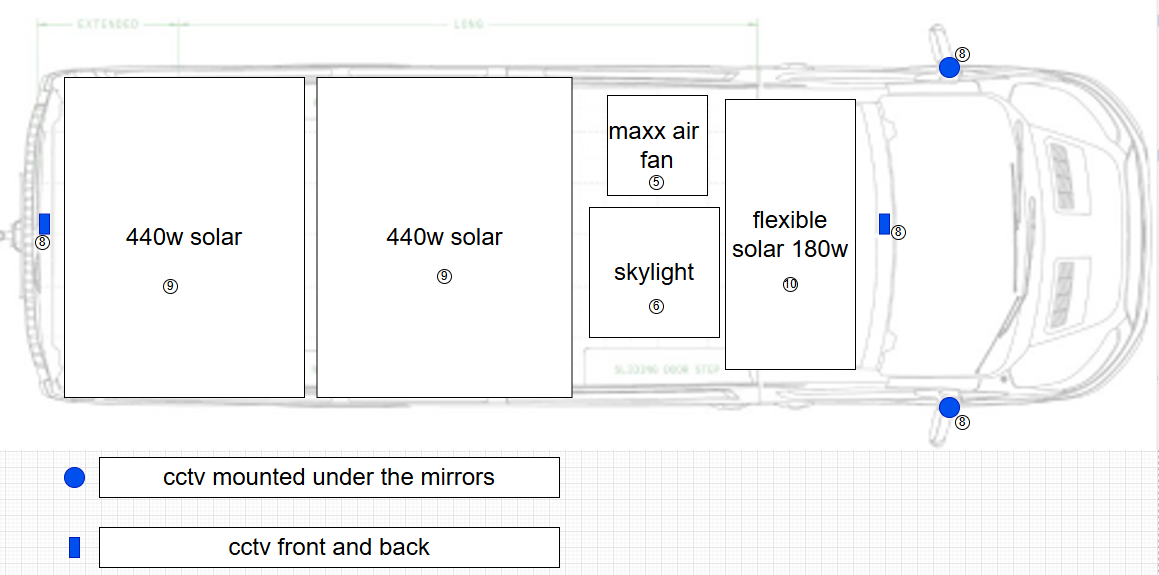
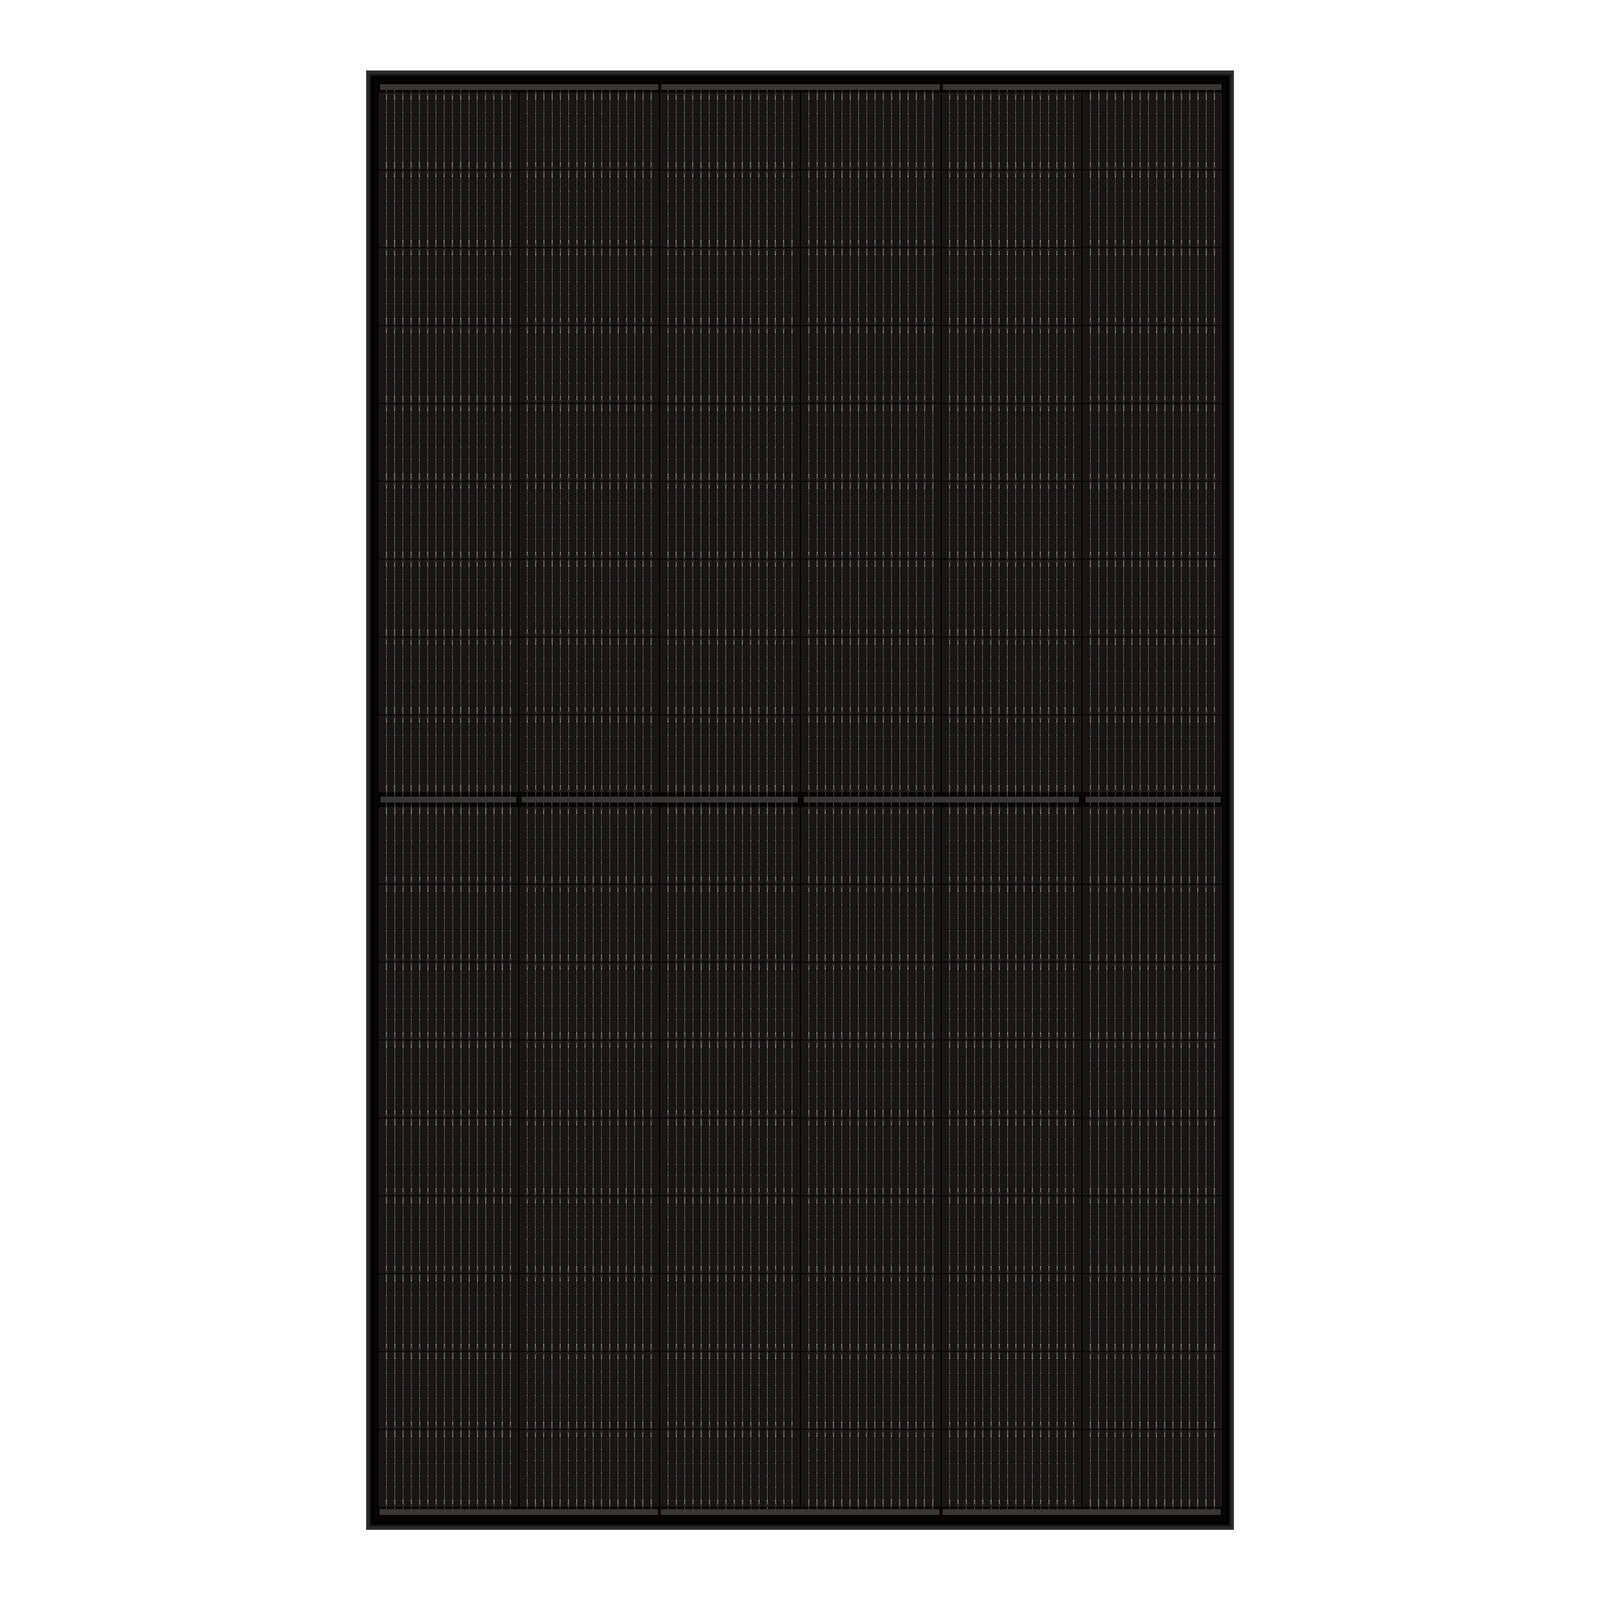
Solar Panels
Three iterations of solar over six years — what changed each time, flexible vs house panels, roof mounting options, and how to choose based on your actual power needs.
I went through three iterations of solar over six years and learned a lot about what works. The short version: flexible panels are fine to start but house panels give you dramatically more power for the same roof space if you can mount them.
My solar journey
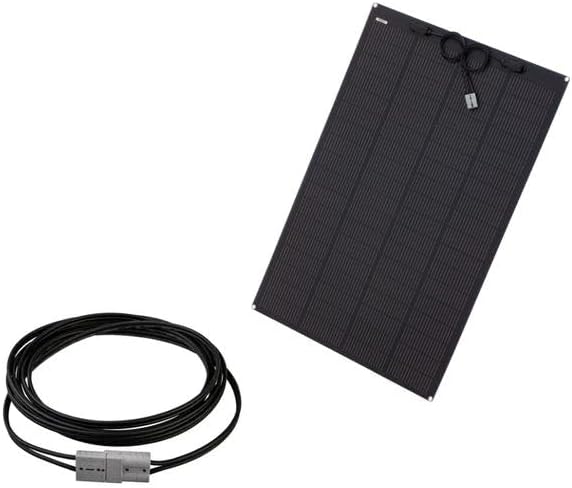
I started with flexible solar panels and they worked well. When I upgraded I had a better sense of my actual power usage and knew I needed more. I kept one flexible panel on the roof and ran it to slow charge the van engine battery. For the second upgrade I added a 12V solar panel to the house battery system.
12V panels are good in size terms but house panels from a solar supplier are bigger and put out a lot more. By the third upgrade I had 2 x house panels and on a sunny day I was pulling 50 amps. The only challenge was that fitting two on the roof meant turning them horizontal, and the length was almost the exact width of my van.
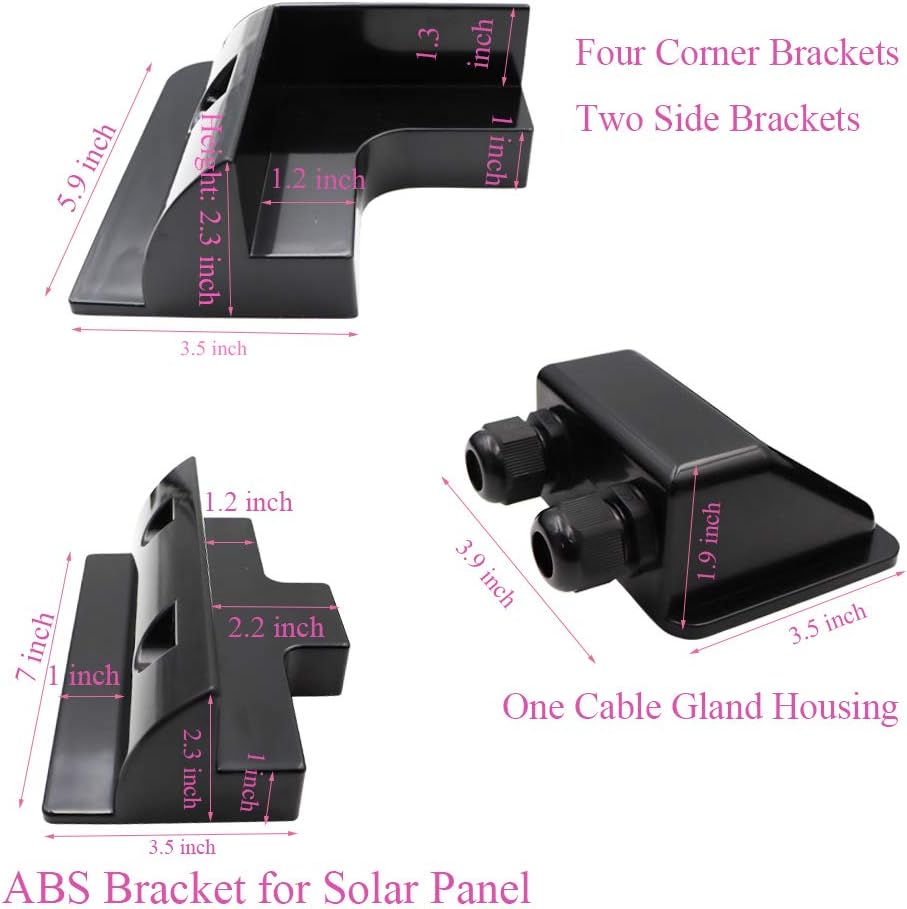
To mount them I cut plastic sheeting (the same material I used for my shower) into squares, built them up with Sika silicone to close the gap to the panels, then used L brackets to lock them down. It worked, but a roof rack is a far cleaner solution if you can run one.
Which type to choose
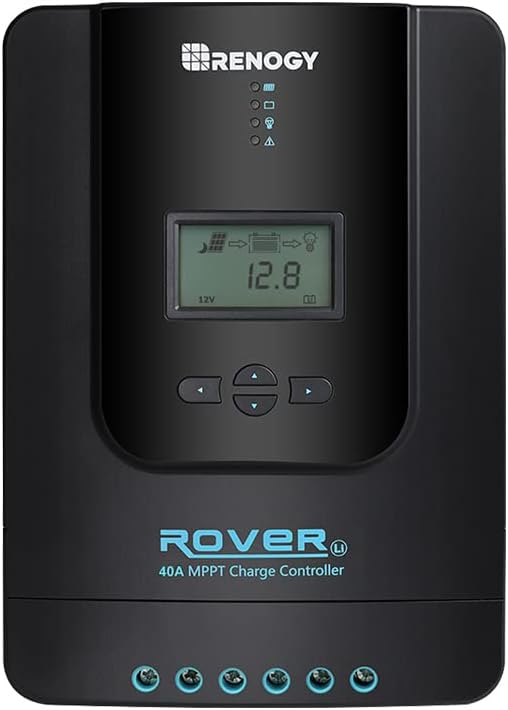
If you're fitting one panel or 12V panels, the standard solar mounts (9c) are all you need.
If you're fitting house panels and have the roof space, commit to the bigger panels. The size difference between 200W 12V panels and a 440W house panel is significant but so is the output difference.
Check the panel dimensions in the parts table before ordering. Confirm they fit your specific roof with room for the mounts.
Cable entry. Use a proper cable entry gland (9c) through the roof. Never just push a cable through a bare hole. The gland seals the penetration against water and UV. Run a drip loop before the gland on the outside so water runs off before it can track into the seal.
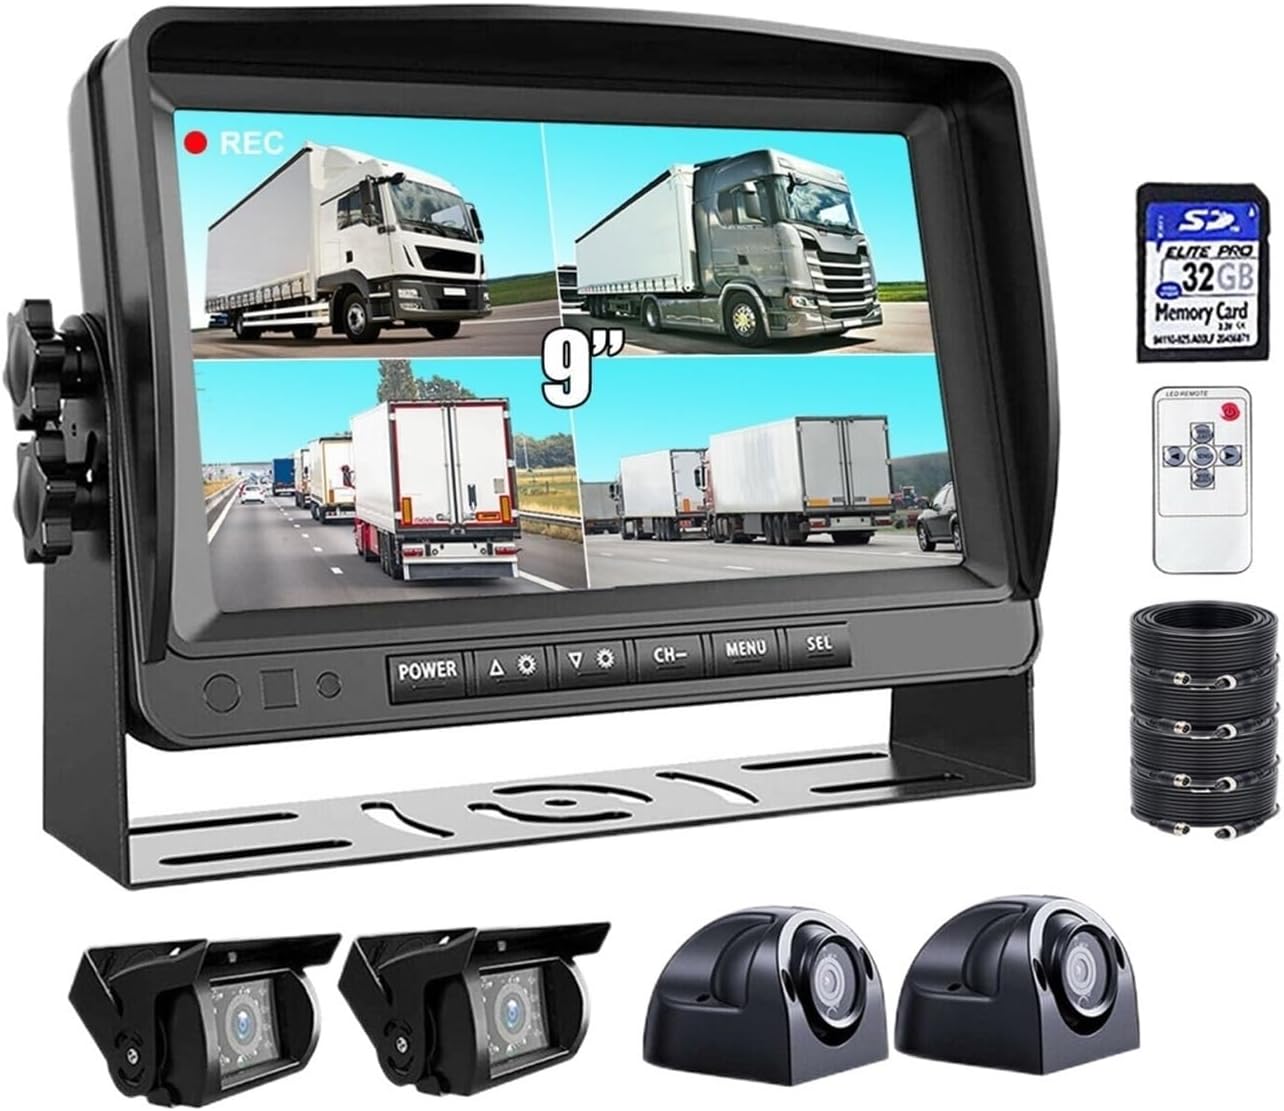
CCTV
Four-camera DVR setup with HDMI output to the van TV, dash cam and reversing camera as separate items, hot water tank draw and switching, AC honest assessment, and CO detector.
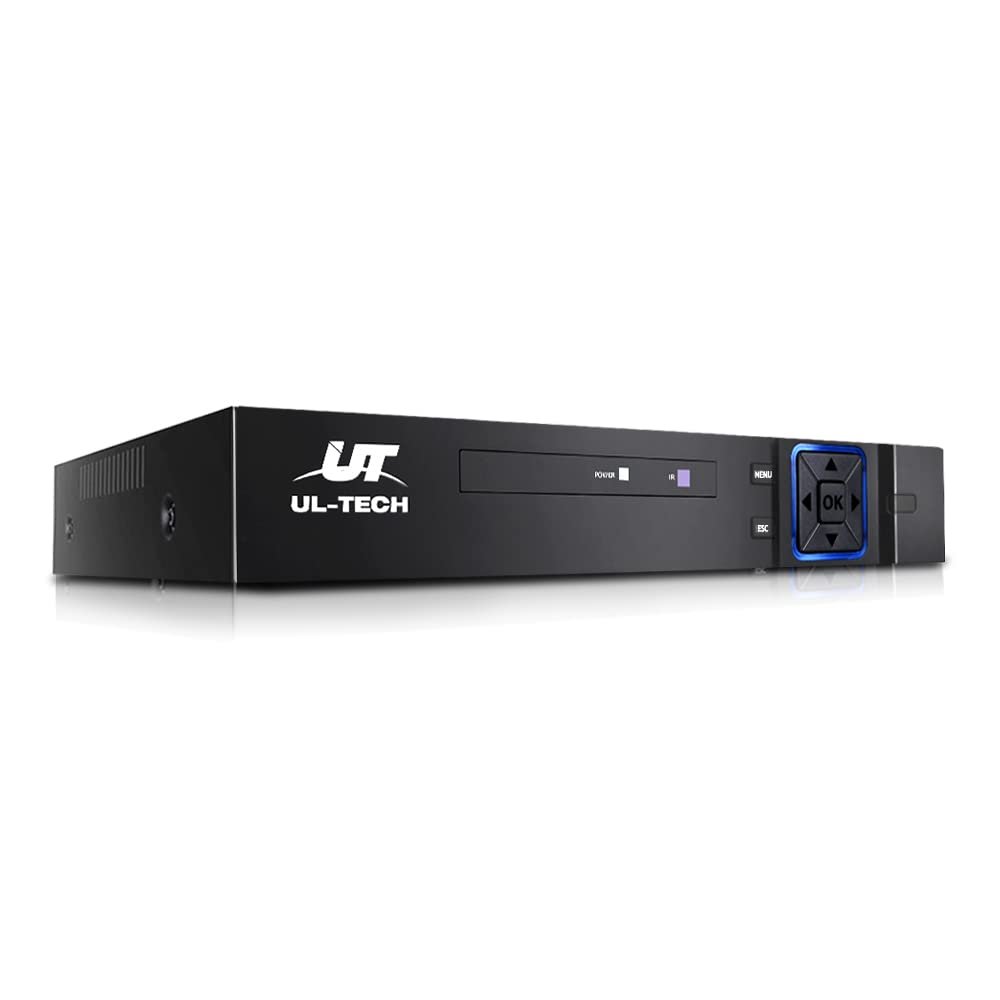
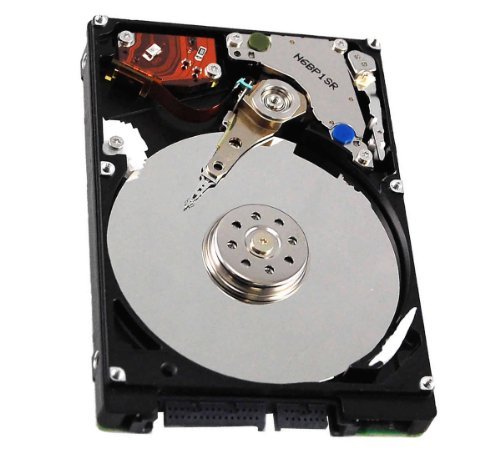
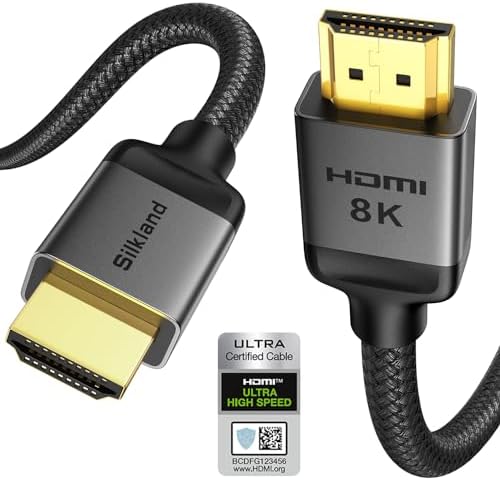
In this guide I have 4 cameras (8). When I built my van I installed cameras at four locations then added a dedicated recorder (12a) with a 1TB hard drive (12b). I built a hidden storage space for the recorder and ran an HDMI cable through to the TV so I can view the footage on the main screen with a wireless mouse. It might sound like overkill, but when the van is your home and has expensive equipment inside it, securing it properly is just sensible.
The camera cables need a BNC connector on the end to connect to the DVR. The cameras typically come with their own cable but check the connectors match your recorder before you commit. Run the cables before you insulate and line the walls, it's a much easier job at that stage.
Dash cam and reversing camera
The mirror dash cam kit (1 and 7) is a separate item from the CCTV system. I added it because I had no rear visibility in the van. The reversing camera side of the kit requires a cable run back to the reversing light so the camera switches on automatically when reverse is selected. Bear this in mind when planning your cable routes before the walls go in.
Hot Water
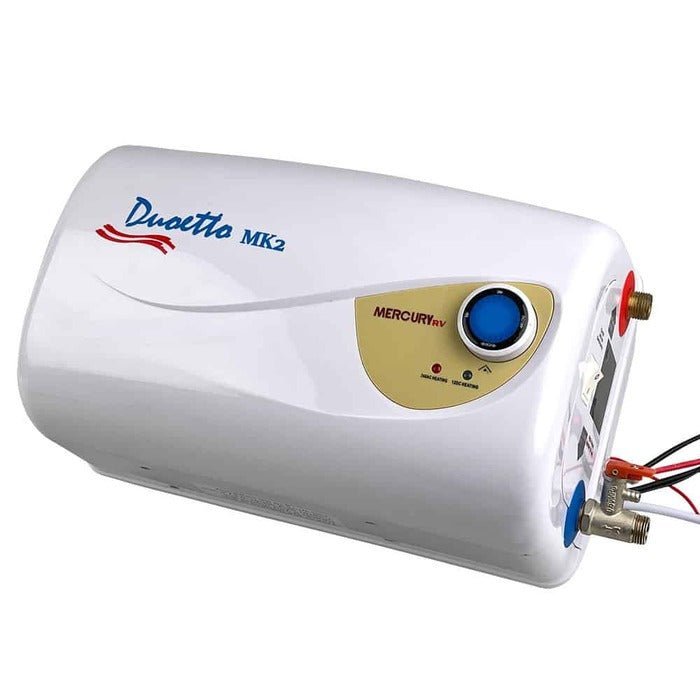
I went with an electric hot water system specifically because I wanted to stay stealth. No gas bottles, no external fittings, nothing on the outside of the van. The Duoetto (22) is brilliant. It runs on 12V and draws 27 amps when the heating element is active. That sounds like a lot but you're only running it for an hour or two a day at most. Switch it on when the sun is out and your batteries are charging, switch it off once it's hot, and you'll have hot water for the rest of the day without noticing the draw.
For all the plumbing connections and install detail for the hot water tank, see the plumbing guide.
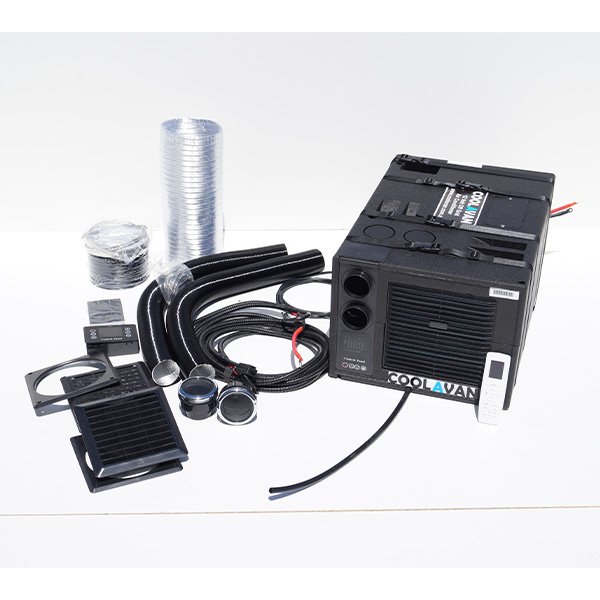
Air Conditioning
I've tried two options and I'll be straight with you on both of them. The portable AC unit I started with drew 35 amps and was basically a weak stream of cold air. Not worth it.
I upgraded to a floor unit which was a lot better, but on full power it's pulling 60 amps. Would I do it again? No. Not unless you're regularly connected to shore power or you've built a very large battery and solar system specifically around it. If you're serious about AC off-grid, size your battery bank and solar around the actual draw before you commit to the unit.
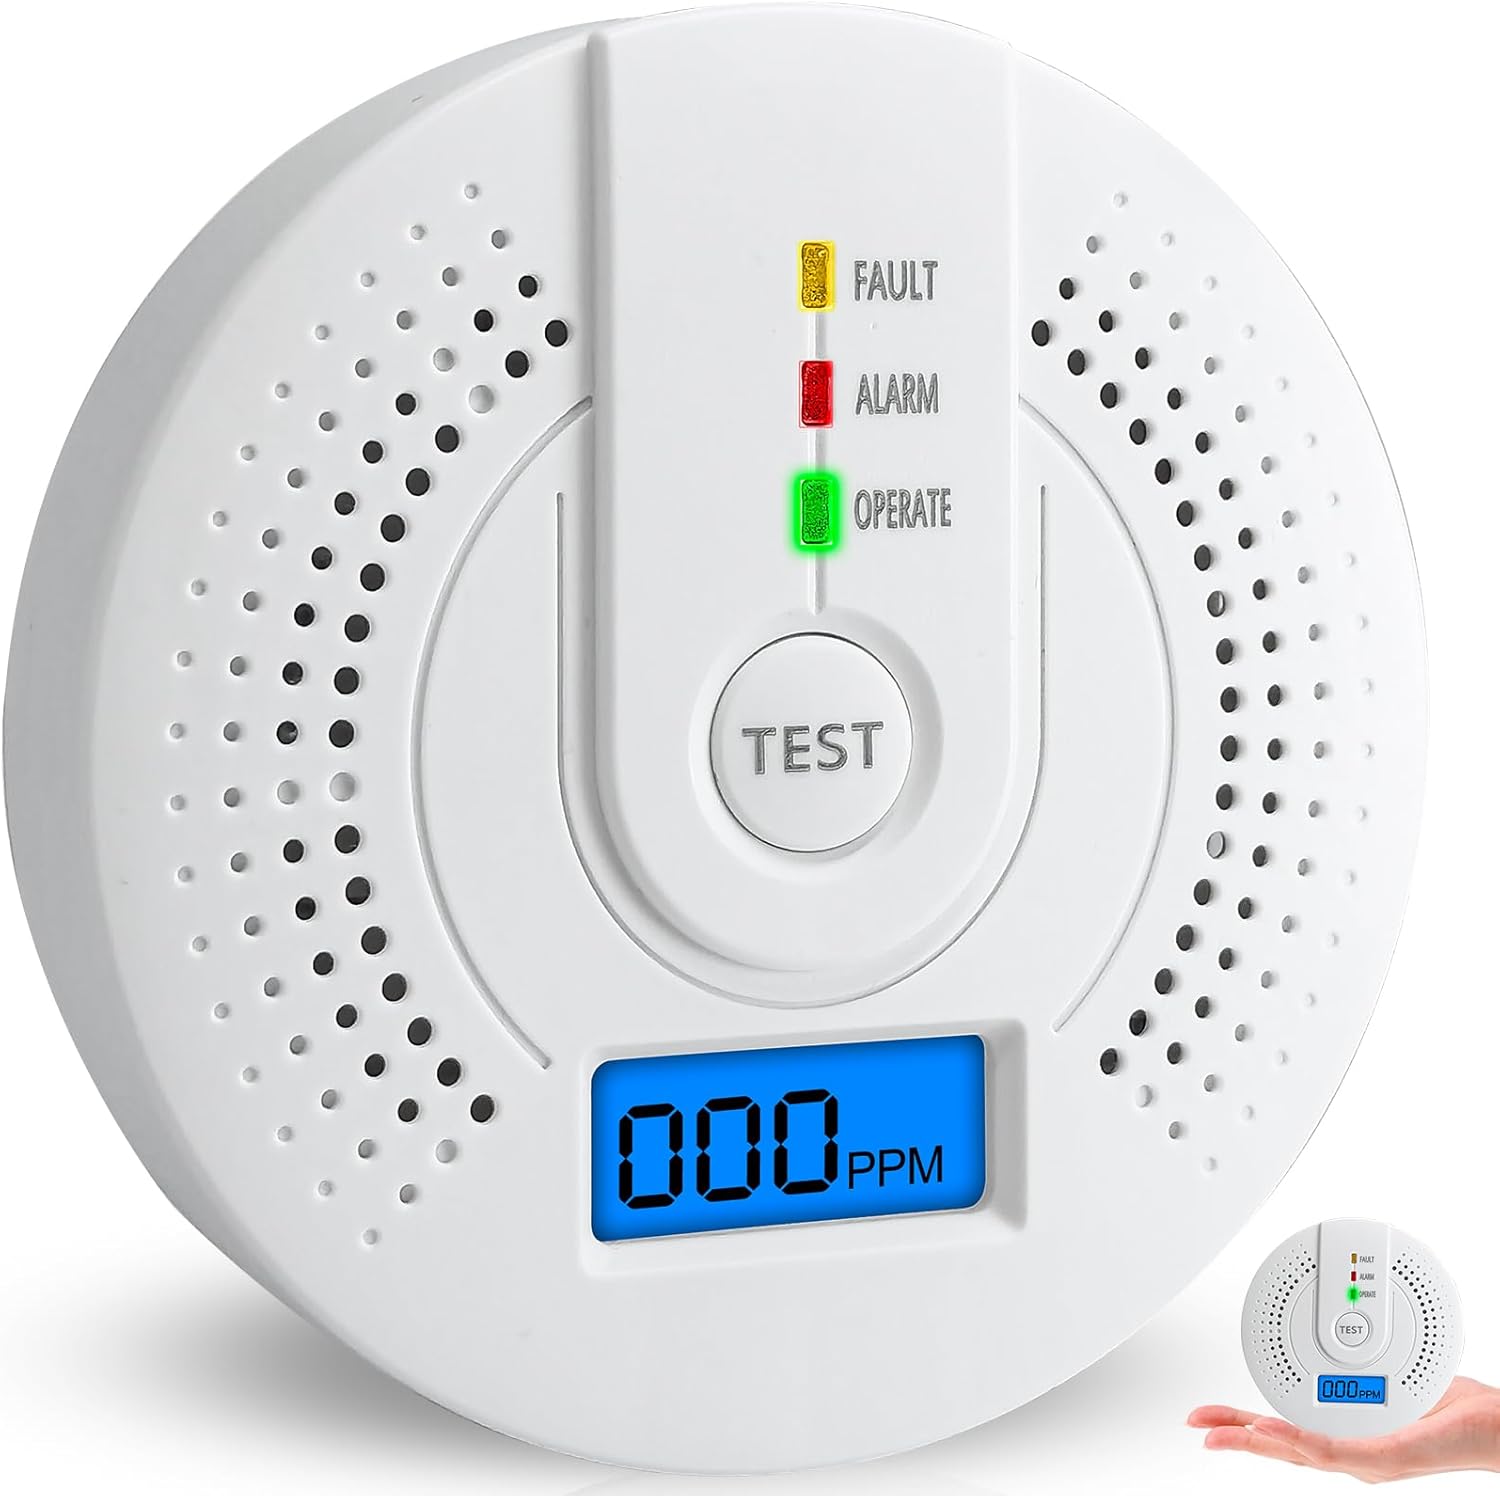
CO and Smoke Detector
Fit a combined CO and smoke detector in the living area. If you have a diesel heater this is non-negotiable. A cracked heat exchanger or a poorly routed exhaust can introduce carbon monoxide into the living space with no warning at all. Mount it high on a wall away from cooking vapours and test it every few months. It is a $20 part that can save your life.
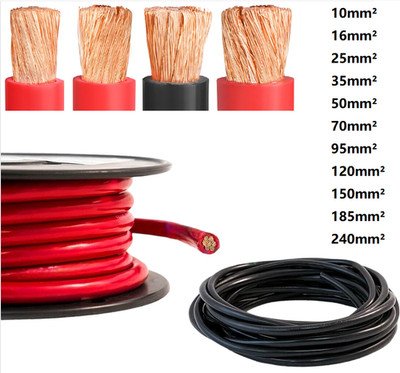
Cable Sizing and Run Lengths
Why run length changes your cable size, routing rules, fusing rules, crimping standards, earthing, and the general tips that stop the most common wiring faults.
Cable run lengths vary a lot depending on your van size and where your battery bank is mounted. A rear-mounted battery in a long wheelbase van will need significantly more cable than one mounted under the driver's seat. A 6m long wheelbase van with a rear battery can mean 8 to 10 metres of cable just for the DC-DC charger run to the engine bay once you account for routing around obstacles. Always measure your actual runs before buying cable, then add 20% for mistakes and re-routes. Refer to the cable size table and voltage drop table to confirm the correct cable size for each run.
Cable routing rules
Never run 12V cable parallel and close to 240V cable. It introduces noise into the system and can cause interference with sensitive electronics.
Protect all cable runs in conduit or split loom anywhere they pass through or near metal. A cable chafing against a chassis is a fire.
Use grommets anywhere a cable passes through a hole in metal. No exceptions.
Leave a drip loop on any cable entering from outside the van. Water follows cable and will track straight into your enclosures if you give it a path.
Both positive and negative cables must be the same gauge. People regularly undersize the negative and it causes the same voltage drop and heating problems as an undersized positive.
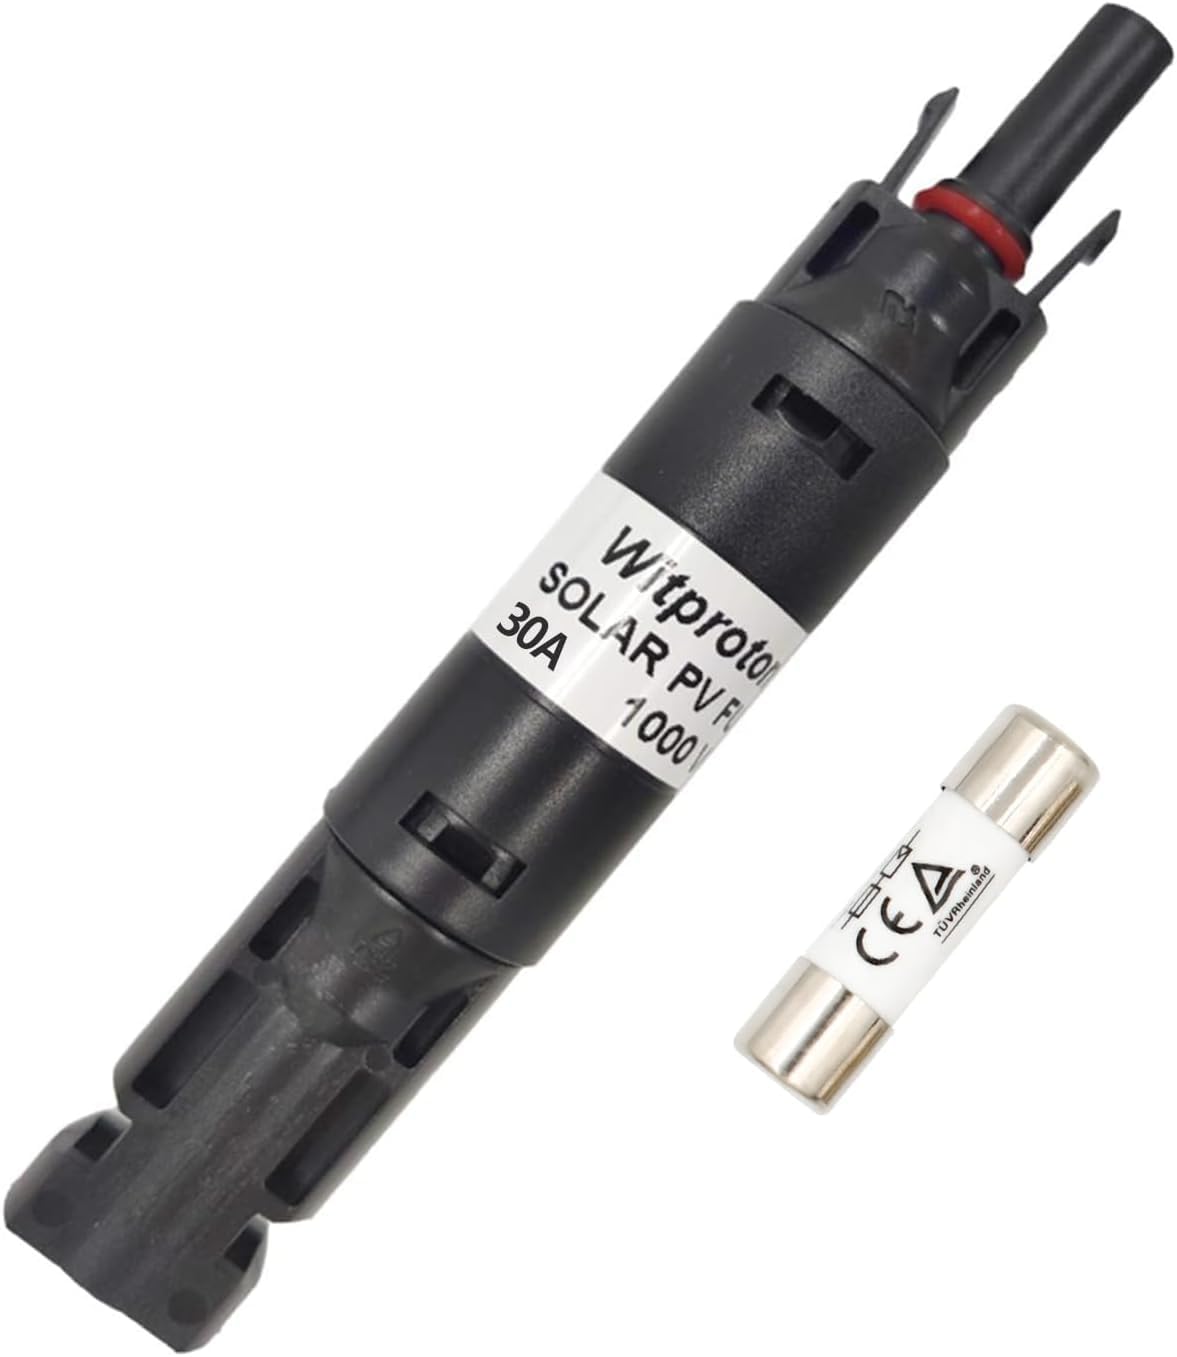
Fusing
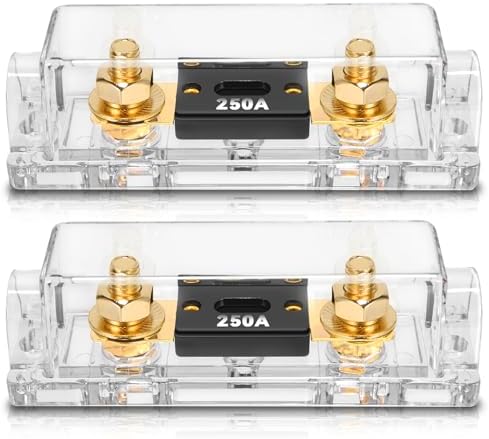
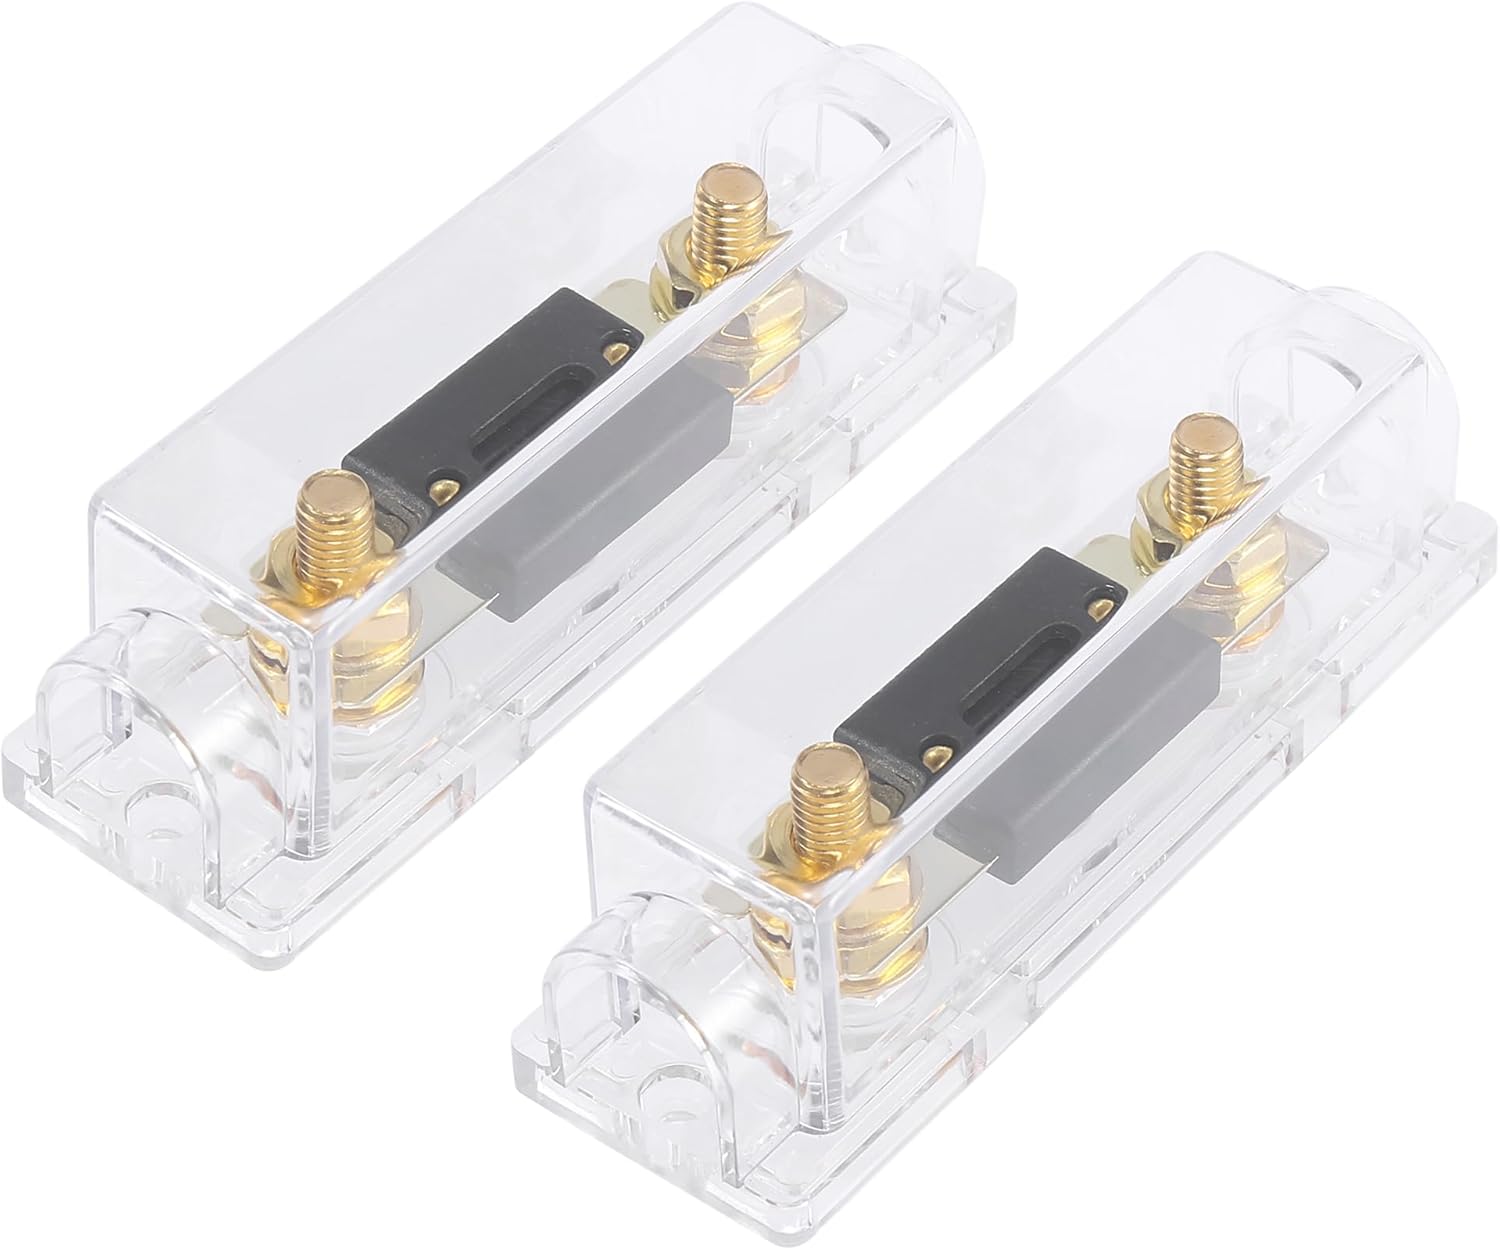
One fuse per positive cable, within 300mm of the battery. That is the rule. The fuse protects the cable, not the device, so size it to the cable rating not the load.
Use quality ANL fuse holders. The holder failing is more common than the fuse element itself failing. Don't cheap out here.
Use MIDI fuses for runs under 60A, ANL for high current runs.
The DC-DC charger run from the starter battery to the house battery is one case where fusing both ends is best practice. This cable runs the full length of the van through the chassis. A fault anywhere along that run needs protection at both ends. Fuse within 300mm of the starter battery, and again at the DC-DC charger input end.
Connections and crimping
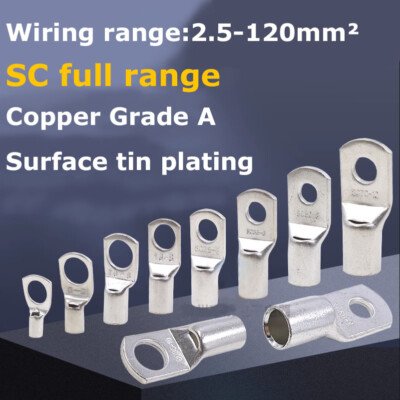
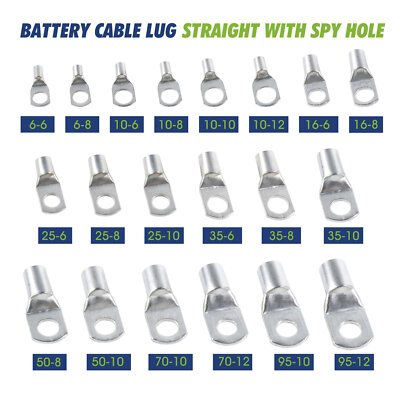
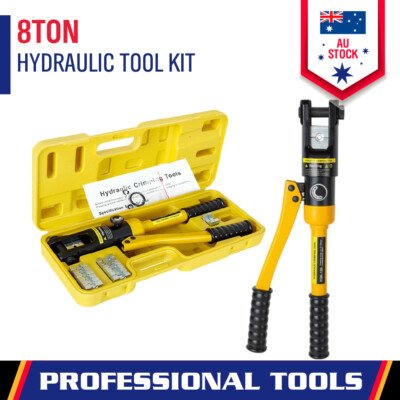
Use a hydraulic crimp tool for lugs only. A ratchet crimper on high current connections is a fire risk. Don't substitute.
Use tinned copper lugs in a van environment. Bare copper oxidises over time and increases resistance at the connection point.
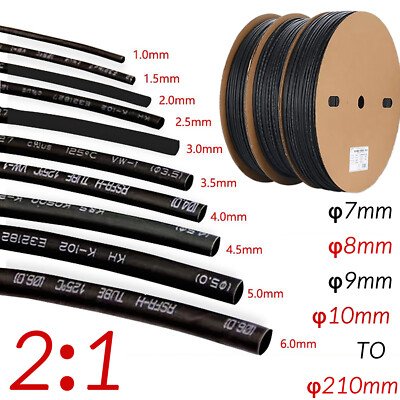
Cover exposed lug connections with self-amalgamating tape or adhesive-lined heat shrink.
Go back and retorque all connections after the first month on the road. Lugs bed in under vibration and can loosen enough to cause resistance and heat.
Earthing
A bad earth causes more mysterious problems than almost anything else. Flickering lights, inverter shutdowns, DC-DC charger faults, battery monitor errors. Before you chase any of those symptoms, check your earths first.
Run a dedicated earth strap, don't rely solely on the factory chassis earth. Ford Transits and many other vans have factory earth straps that degrade over time.
Clean bare metal at every earth connection point. Paint and rust kill connections and the resistance creep is slow enough that you won't notice it until something starts behaving strangely.
Fitting a dedicated 50mm2 earth strap between the engine block and chassis is optional but highly recommended on any van showing unexplained electrical problems.
General tips
Label every circuit at the fuse box and at both ends of the cable. Future you will thank present you.
Keep a basic wiring diagram somewhere in the van. A photo on your phone works. When something goes wrong 18 months later you don't want to be tracing cables blind.
Never assume a circuit is dead. Always test with a multimeter before working on it.
Cable Sizing Reference
AU sizes are in mm². US sizes are in AWG. Both columns refer to the same current capacity — use whichever standard applies to your build. Always match positive and negative cable to the same gauge. Measure your actual run lengths before ordering and add 20% for re-routes.
Run
Max amps
AU cable (mm²)
US cable (AWG)
Fuse
Notes
Battery to inverter
200A sustained
120mm²
4/0 AWG
250A ANL
Keep run as short as possible. ANL fuse within 300mm of battery positive.
Battery to busbar
200A+
120mm²
4/0 AWG
250A ANL
Same gauge on positive and negative paths.
Alternator to DC-DC charger
40–60A
25mm²
4 AWG
60A MIDI
Fuse both ends — long chassis run between two battery systems.
Solar controller to battery
40–60A
16mm²
6 AWG
60A blade/MIDI
Size to controller output rating, not panel watt rating.
Panels to MPPT controller
15–30A
6mm²
10 AWG
30A inline MC4
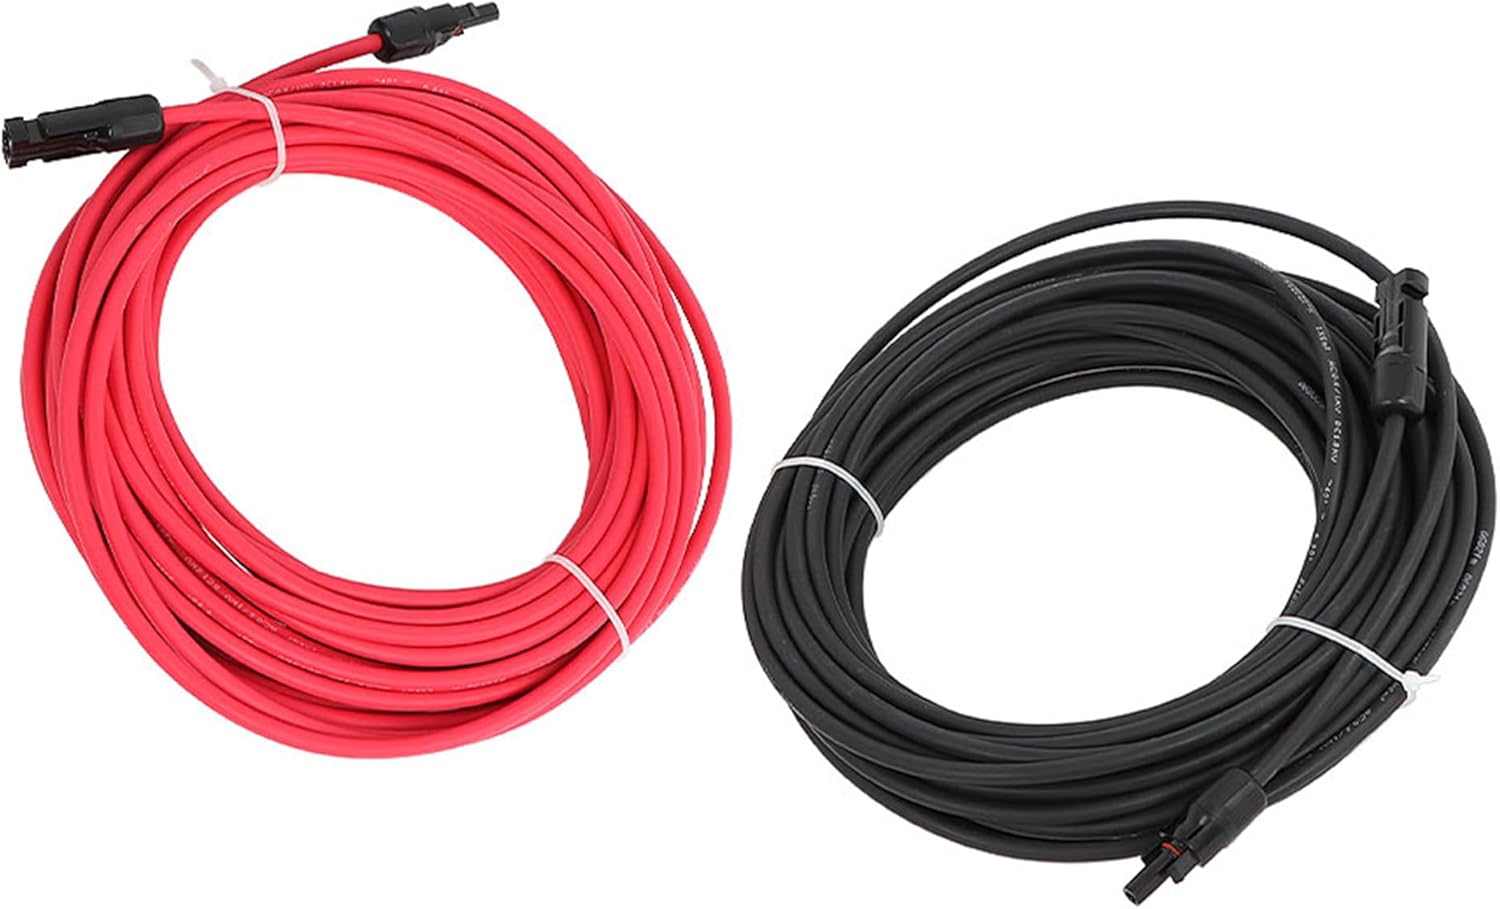
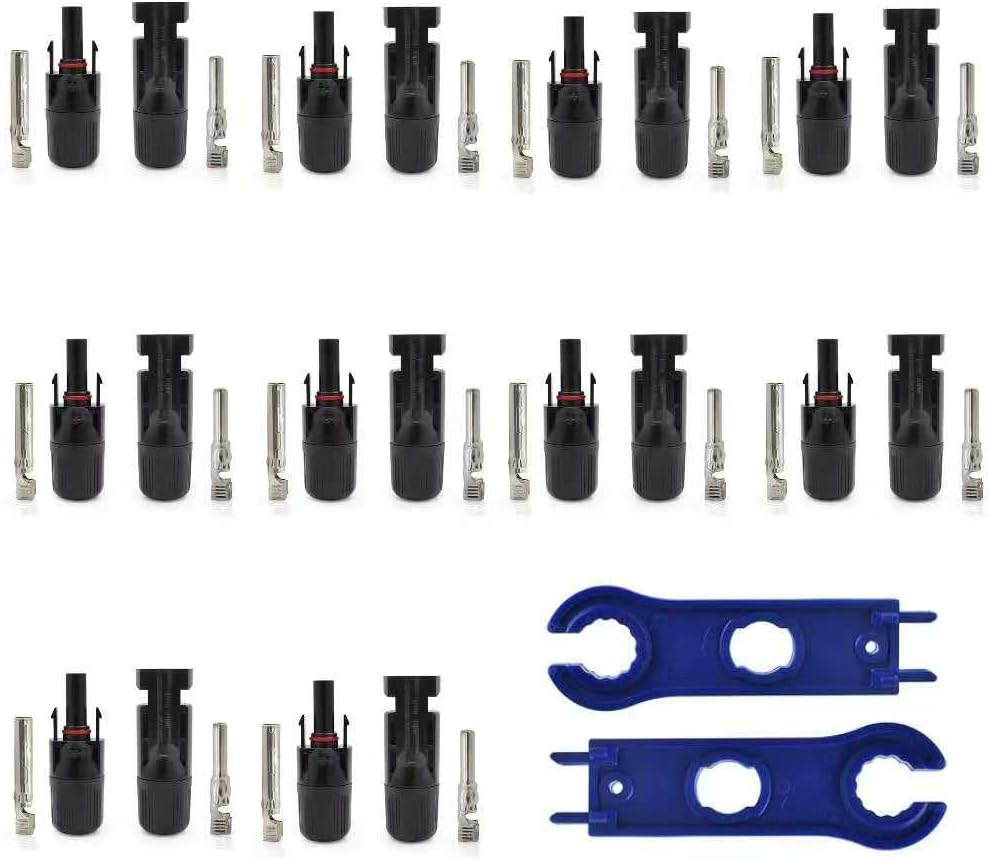
Use UV-rated cable. Protect all external entries with a gland and drip loop.
Busbar to 12V fuse box
60–100A total
25mm²
4 AWG
100A MIDI
Size for the expected combined draw across all circuits on the fuse box.
Fridge / heater / pump circuits
10–15A
4–6mm²
10–12 AWG
15A blade
Dedicated circuits recommended for high draw appliances.
Lights / USB / fan circuits
5–10A
2.5mm²
14 AWG
10A blade
Break into zones for simpler fault finding.
Shore power / inverter output (240V/120V AC)
16A AC
2.5mm² TPS (AU)
14 AWG NM-B (US)
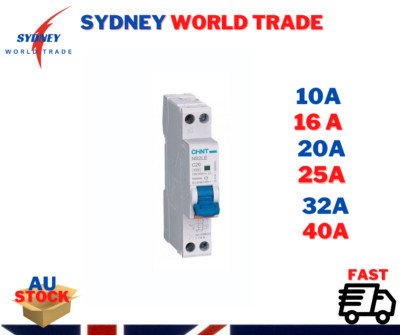
16A MCB
AU: twin and earth 3-core. US: 14/2 NM-B with ground. Have 240V/120V wiring checked by a licensed electrician.
Rule: cables will naturally run slightly warm under load and that is normal. If a cable becomes very hot to the touch, it is undersized for the load or the connection quality is poor. Upsize the cable or re-terminate before using again.
Roof
Driver side (1 of 2)
Driver side (2 of 2)
Passenger side
Parts Reference — AU Electrical Build
#
Price
Description
Link
Qty
Photo
1 & 7
$79.99
10" Mirror Dash Cam Front & Rear 1080P, Dual Cam + Reverse Camera, Night Vision
Voltage drop is the loss of voltage over a cable run caused by resistance. In a 12V system, keeping drop under 3% (0.36V) is the accepted standard. Longer runs and higher current both increase drop — use a heavier cable or shorten the run. AU sizes in mm², US sizes in AWG. One-way run length shown — double it for a return path calculation.
AU cable
US cable
Current (A)
3m run
5m run
8m run
10m run
Pass at 12V? (<3%)
2.5mm²
14 AWG
10A
0.14V
0.24V
0.38V
0.48V
Up to ~8m
2.5mm²
14 AWG
15A
0.22V
0.36V
0.58V
0.72V
Up to ~5m
4mm²
12 AWG
15A
0.14V
0.23V
0.36V
0.45V
Up to ~8m
6mm²
10 AWG
20A
0.12V
0.20V
0.32V
0.40V
Up to 10m
6mm²
10 AWG
30A
0.18V
0.30V
0.48V
0.60V
Up to ~6m
16mm²
6 AWG
40A
0.09V
0.16V
0.25V
0.31V
Up to 10m+
16mm²
6 AWG
60A
0.14V
0.23V
0.38V
0.47V
Up to ~8m
25mm²
4 AWG
60A
0.09V
0.15V
0.24V
0.30V
Up to 10m+
25mm²
4 AWG
100A
0.15V
0.25V
0.40V
0.50V
Up to ~7m
120mm²
4/0 AWG
200A
0.06V
0.10V
0.16V
0.20V
Up to 10m+
Inverter cable: the battery-to-inverter run carries the highest current in the system. Keep it as short as physically possible — under 1m where you can. A 10m run of even 120mm²/4/0 AWG cable at 200A will drop nearly 0.4V and will get noticeably warm. Position the inverter close to the battery bank.
Fuse Sizing Guide
The fuse protects the cable, not the device. Size it to the cable rating. One fuse per positive cable, within 300mm of the battery terminal. AU cable sizes in mm², US in AWG.
Run
Max amps
AU cable (mm²)
US cable (AWG)
Fuse type
Notes
Battery to inverter
200A
120mm²
4/0 AWG
250A ANL
ANL holder within 300mm of battery. Use quality holder — Narva, Blue Sea, or Victron.
Battery to busbar
200A+
120mm²
4/0 AWG
250A ANL
Same gauge on positive and negative. ANL at battery terminal end.
Alternator to DC-DC charger
60A
25mm²
4 AWG
60A MIDI (both ends)
Fuse within 300mm of starter battery AND at DC-DC input. Long chassis run needs both ends protected.
Solar controller to battery
60A
16mm²
6 AWG
60A MIDI
Size to controller output rating. MIDI fuse at battery end.
Panels to MPPT
30A
6mm²
10 AWG
30A inline MC4
Inline MC4 fuse holder in the solar cable run. UV-rated cable only.
Busbar to 12V fuse box
100A
25mm²
4 AWG
100A MIDI
Size for combined load across all circuits, not just one.
Fridge / heater / pump
15A
6mm²
10 AWG
15A blade
Dedicated circuit per appliance. Blade fuse in 12V fuse box.
Lights / USB / fans
10A
2.5mm²
14 AWG
10A blade
Break into zones (cab, living, garage) for easier fault finding.
Shore power / inverter AC output
16A AC
2.5mm² TPS
14 AWG NM-B
16A MCB
MCB at inverter output (48b). RCBO at shore power inlet (48). Have all 240V/120V wiring checked by a licensed electrician.
MIDI vs ANL: Use MIDI fuses for runs under 60A — they are smaller and easier to work with. Use ANL for high-current runs (battery to inverter, battery to busbar). Never substitute a larger fuse to stop it blowing — find and fix the cause.
Wins — What This Build Gets You
When the system is finished and working properly, these are the things you'll notice every day. They are worth building right.
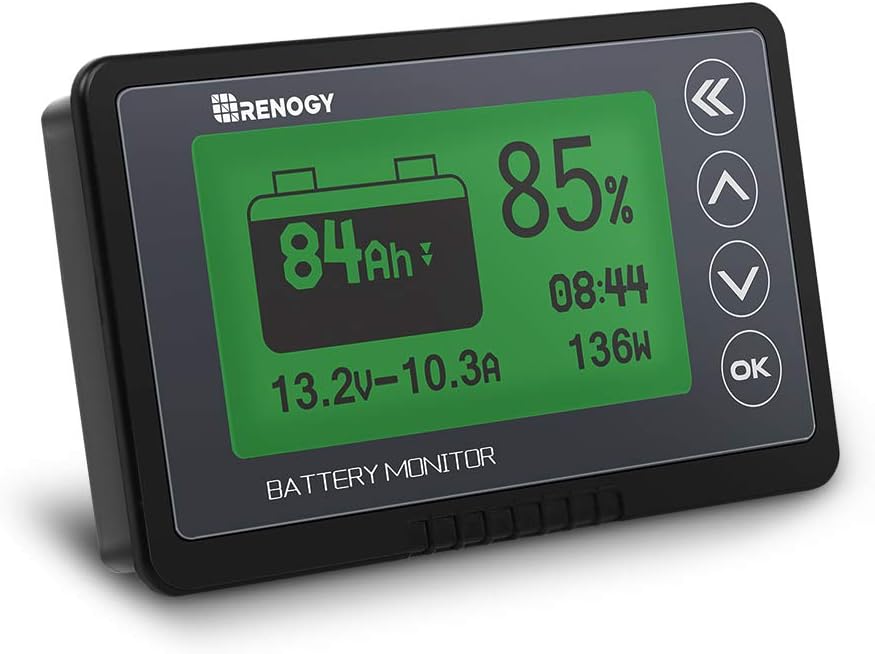
You never worry about power. A 400Ah lithium bank with 440W of solar means most days you end the day with more charge than you started with. The battery monitor tells you exactly where you stand and the DC-DC charger top-ups on any drive top up anything the sun missed.
The van is completely self-contained. No generator noise, no shore power dependency. You park where you want and stay as long as you want. That is the whole point of building this properly.
Hot water without a flame. The electric hot water system keeps the van stealth, keeps gas cylinders out of the equation, and produces genuinely hot showers. Switch it on while the sun is charging the batteries and it costs you nothing.
You can see everything that happens around your van. Four cameras, a recorder with a terabyte of storage, live view on the dash while driving. When the van is your home and your office and has expensive gear inside it, knowing it is covered is not paranoia, it's just sensible.
Every circuit is protected and labelled. Nothing runs without a fuse. Every cable is the right size for its load. Every connection is crimped properly and retorqued. A system built this way does not develop mysterious faults. When something does go wrong you can trace it in minutes not hours.
You built it once. Because you measured the runs, bought the right cable, used quality components, and tested before closing the walls. The most expensive van electrical repair is the one that happens inside a finished van interior. Build it right the first time and you won't see the inside of those walls again.
Last word: The electrical system is the one part of a van build where cutting corners has real consequences. Get the basics right, a good battery bank, properly sized cable, correct fusing, solid earths, and everything else in this guide just works on top of that foundation.